Mount Bishop – Table of Contents
- Hike Introduction
- Hike Statistics
- Mount Bishop Video
- Map and Elevation
- Hiking Route Description
- Directions and Parking
- Free PDF Download
Mount Bishop Hike Intro
Mount Bishop is a rarely-traveled and very challenging hike located in the northern edge of Mount Seymour Provincial Park in North Vancouver. Mount Bishop can also be accessed from Mount Seymour or from the Lower Seymour Conservation Reserve. There are several routes you can take to get to the summit of Mount Bishop. A few examples:
- Bike the Seymour Valley Trailway to the Hydraulic Connector, over Spur 4 Bridge onto Spur 4 service road, to the trailhead*.
- Bike the Seymour Valley Trailway all the way to Coho Trail.
- Find a safe place to cross the Seymour River and find your way onto Spur 4 Road, to the trailhead.
- Carry on through to the hatchery and the Bear Island Bridge, connecting to Spur 4 Road, to the trailhead.
- Bike the Twin Bridges Trail to Fisherman’s trail. Cross Spur 4 Bridge onto Spur 4 Road, to the trailhead.
- Start at Mount Seymour, hike to Mount Elsay, and then carry on to Mount Bishop (expert only).
*Option 1 above is the route I took, and the stats at the top of this guide and the following description reflect taking this route. This map, will help you give a sense of the options.
Some like to camp overnight and backcountry camping is permitted within Mount Seymour Provincial Park (ie, Vicar Lake or Mount Bishop summit area).
Regarding biking – a mountain bike is ideal. I have a hybrid (cyclo-cross) bike with fairly thin tires and it was hard to negotiate on the Hyrdaulic Connector, and my bike couldn’t even handle some of the steeper hills of Spur 4 Road without the tires spinning-out underneath me. You can, of course, do the entire route without a bicycle. But, given the distance and relatively flat terrain before the actual trailhead, biking is a good way to go.
This is a very challenging hike, with steep climbs and many technical sections. Be well prepared on this hike.
Mount Bishop Hike Stats
Rating: Difficult
Distance: 36 km
Net Elevation Change*: 1,270 m
Highest Point: 1,509 m
Time Needed: 11+ Hours
Type: Out-and-back
Season: July to October
Dogs Allowed: Yes (But not on upper portion of Fisherman’s Trail)
Est. Driving Time from Vancouver: 30 Minutes
Trailhead Coordinates: 49.350583, -123.015831
*For a better understanding of the stats and difficulty rating, check out the Hiking Guides page for details. Always carry The Essentials and fill out a trip plan.
Mount Bishop Video
Here is a 4-minute video of our experience on this hike!
Mount Bishop Hike Map and Elevation
Mount Bishop
Profile
Mount Bishop Hiking Route
Start at the Lower Seymour Conservation Reserve parking lot, and get onto the paved Seymour Valley Trailway. The road is paved, so you’ll fly along enjoying the ride until you reach the 5 km mark. Just passed the 5 km mark of the road, you’ll cross a small bridge going over Hydraulic Creek.
On your right, there will be a small pullout area with map and two out-houses. Take the trail down here, a within about 1 km you will be on the Spur 4 Bridge. Cross the bridge over the Seymour River, and you will come to a junction where you can go straight (up a trail marked Suicide Branch) or left. Go left, following the wide, Spur 4 gravel road.
Neat fact: “The mountain was named in honour of Joseph Charles Bishop, the first president of the British Columbia Mountaineering Club (BCMC), who died in 1913 after falling into a crevasse whilst climbing on Mount Baker.” [Source]
Carry on along the road and follow the large, blue kilometer markers which are on the side of the road.
You will pass two turnoffs for Lost Lake (south and north trails) at about 6.5 km and 8 km. Simply keep on Spur 4 Road until you reach the 12 km marker. Then, keep a keen eye out for the trailhead on your right, near the 12.5 km point. There should be some flagging, and a slight opening in the trees. When I went, there was lots of flagging all along the right side of the road through the entire stretch of road, so it can be easy to miss.
Looking carefully, however, there will be one tree with an orange marker. Once you find the trailhead, stash your bike somewhere, and get ready for the workout to begin as you ascend to Mount Bishop.
Within a few minutes of your climbing, you’ll come across a giant old growth cedar tree. Rivalled in size only by nearby ‘Big Cedar’, this amazing tree is called ‘The General’. ‘The General’s Wife’ sits beside it.
The Mount Bishop trail is very well flagged and marked, so staying on the path should be easy. The trail is narrow and tight, but surprisingly well maintained. That said, it is also a seldom travelled trail, so be prepared to feel some spider webs in your face. There is also some large deadfall, but nothing that poses too much of a problem.
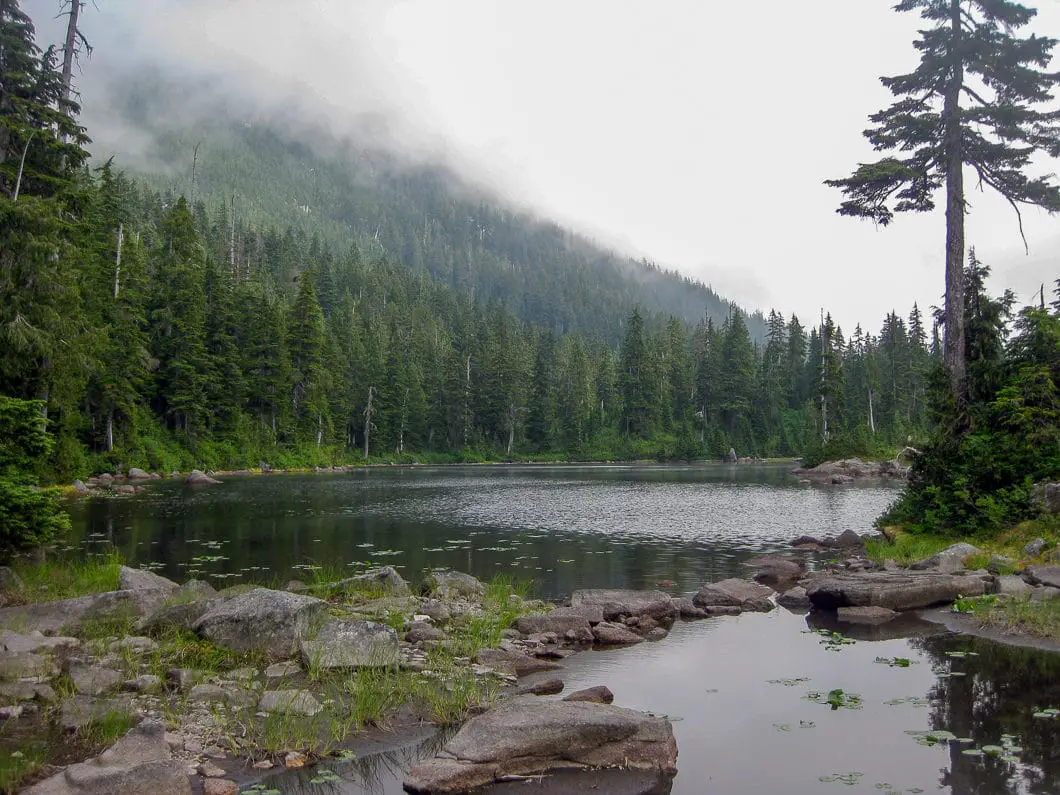
The trail climbs up relentlessly. After some time, you’ll reach a flat clearing and two ponds (or perhaps earlier in the year, one larger pond) at a marshy area. Follow the flagging up through the ponds and you’ll come to another, larger pond. Skirt the pond, and you’ll quickly be at Vicar Lake which sits at an elevation of 1,030 m. Although the Vicar Lake is only about 2 km from the trailhead, it will take some time given the steep and challenging nature of the trail. The most difficult sections are roped to assist your climb.
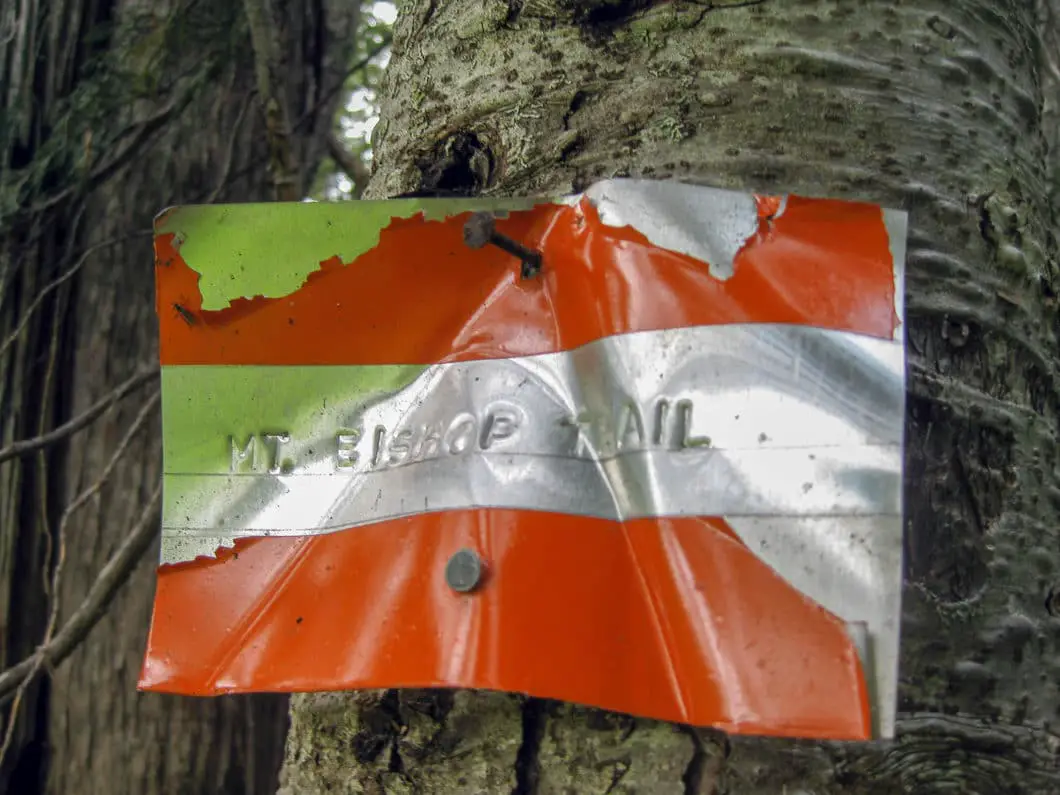
Go around to the left of Vicar Lake, and find where the trail carries on. There are a few Mount Bishop trail markers on a tree.
Download the PDF version of this guide for offline use
From the lake, the trail continues back uphill. It becomes steep and technical again, but this upper section trail seems to be a bit easier going than the lower section. The trail from this point has less flagging, but is still easy to follow. The are some shrubs and bushy sections, so pants are a good idea to protect from cuts and the off-chance of ticks.
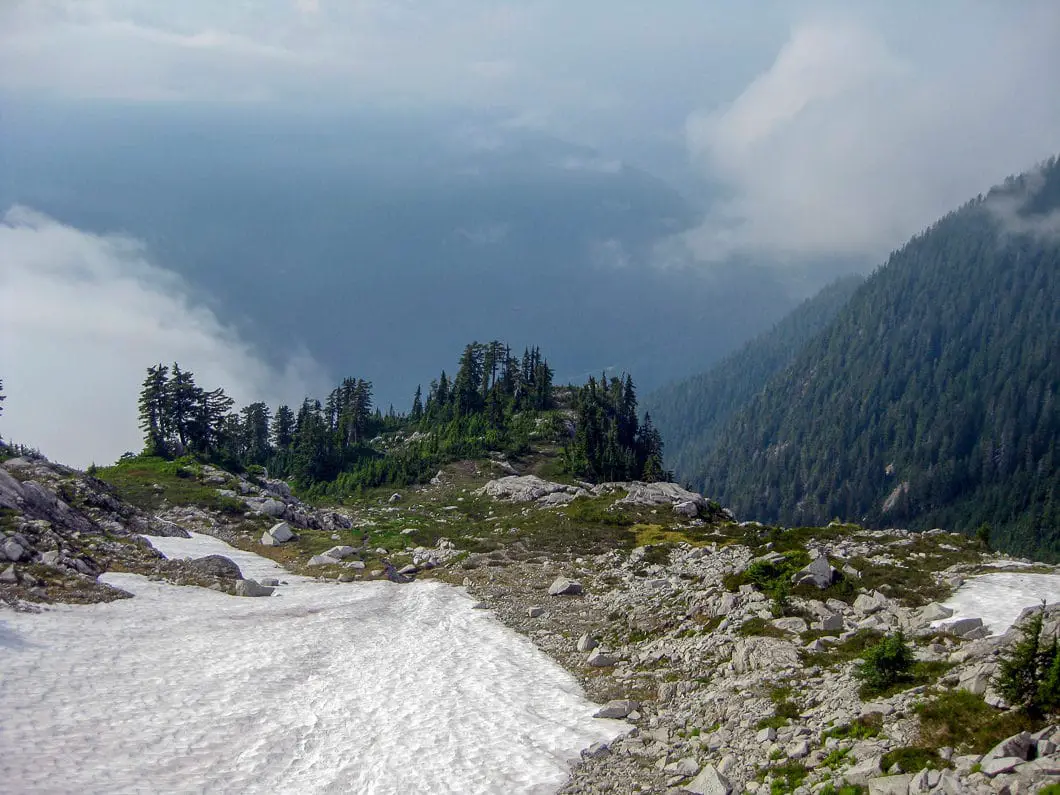
You’ll zig-zag your way up into the alpine, with a few nice views along the way. Nearing the top, there may be one stream from a snowfield that will provide some fresh water if needed.
As you approach the summit, the flagging will stop but there may be a few cairns to guide the final ascent. The top is open and exposed so you can essentially choose your preferred route to scramble to the summit of Mount Bishop. When I went, there was a partial cloud cover, so I only had a narrow view to the northeast. I imagine the view would be spectacular on a clear day.
To return, just retrace your steps.
Directions and Parking
To get to the Lower Seymour Conservation Reserve, take the Mount Seymour Parkway exit off Hwy 1 (exit #22A), and head north up Lillooet Rd. Carry on past Capilano University and the cemetery and eventually you’ll hit the gravel parking lot.
Google Map directions are here.
Other great hikes in this area
- Hiking Mount Seymour (moderate)
- Hiking Mount Elsay (difficult)
- Kennedy Falls (moderate)
- View all hiking guides here

Joe
It took me 5h to the summit and 3h down in wet slippery conditions. I’m sure a fit person could do it in 7h or less.
GB
you can stay on the paved pathway all the way up to the dam and cross over to spur 4 at the fish hatchery.
Joe
Exactly. I found this out after following these directions along the gravel road, which undulates quite a bit, is rough, and gets carved up after heavy rainfall.
shay
Thx for the info.
Dogs are not allowed past Homesteader trail the intersects fishermans. So no dogs from the Seymour river side.
Steve Cepela
I wonder why a dog that can safe your life out there in the unforgiving wilderness would be considered a non desirable visitor ?
Jeff
Great video! Looking forward to doing this one.