Lighthouse Park – Table of Contents
- Hike Introduction
- Hike Statistics
- Lighthouse Park Video
- Map and Elevation
- Hiking Route Description
- Directions and Parking
- Free PDF Download
Lighthouse Park Hike Intro
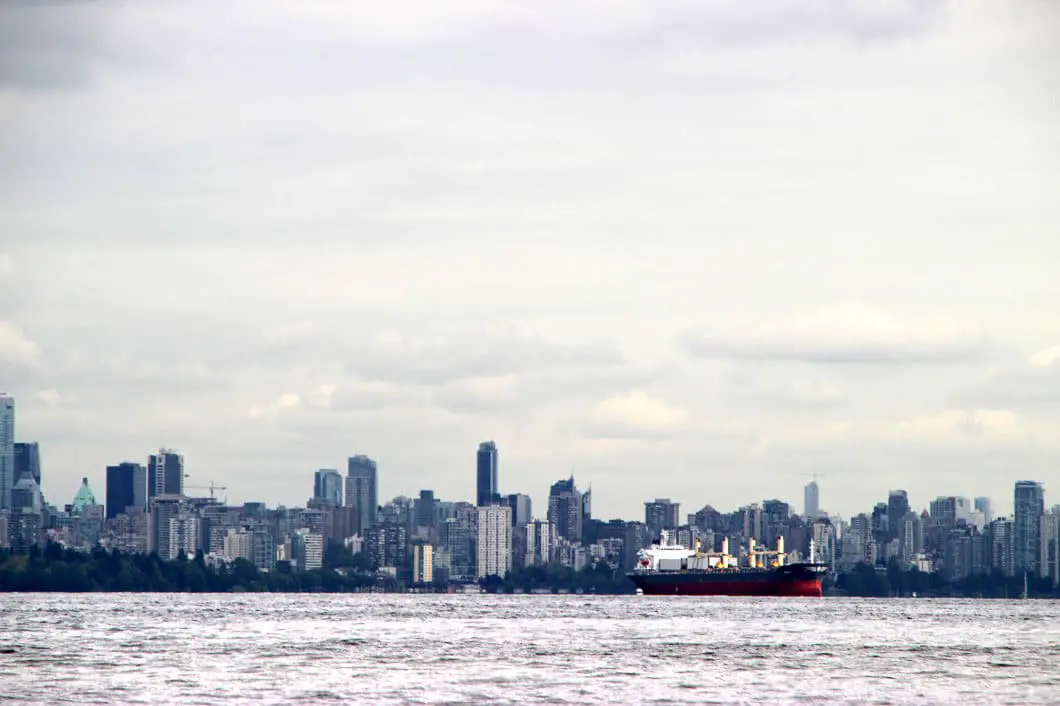
Lighthouse Park is a beautiful strand of old-growth forest nestled into West Vancouver at the entrance of the Burrard Inlet. Many trails throughout the park provide the perfect family outing on a sunny or a rainy day. There are several rocky outcrops on the ocean shore. Each one provides fantastic views of the Salish Sea, downtown Vancouver and Stanley Park. The forest is dense and rich with life, and is a great spot for a quick getaway from the bustle of the city.
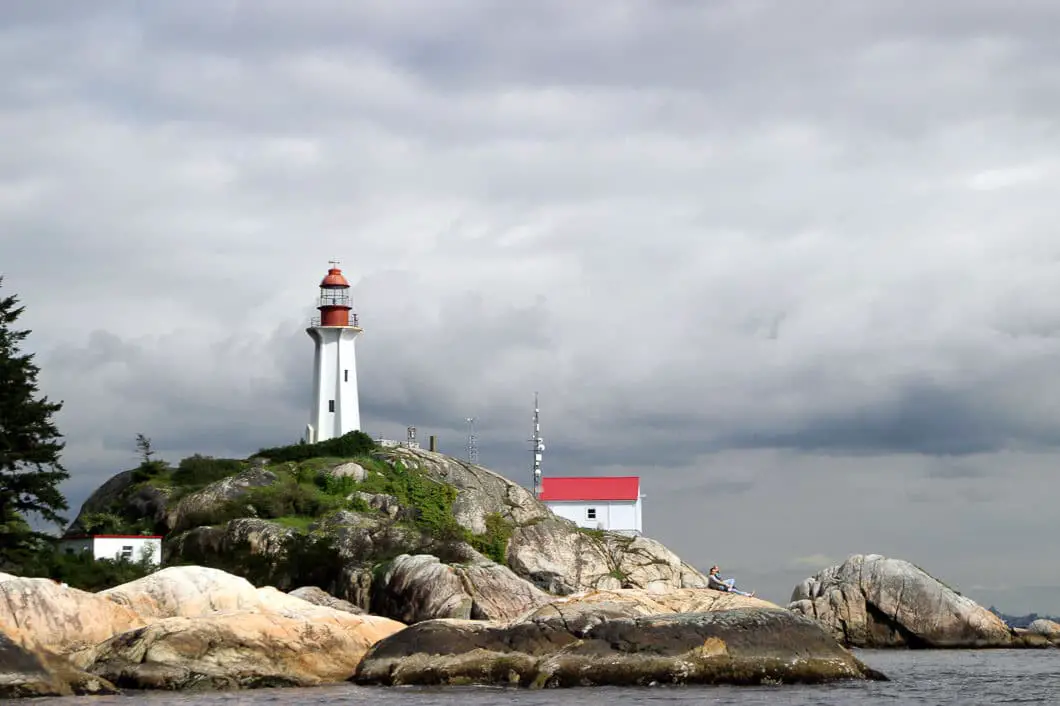
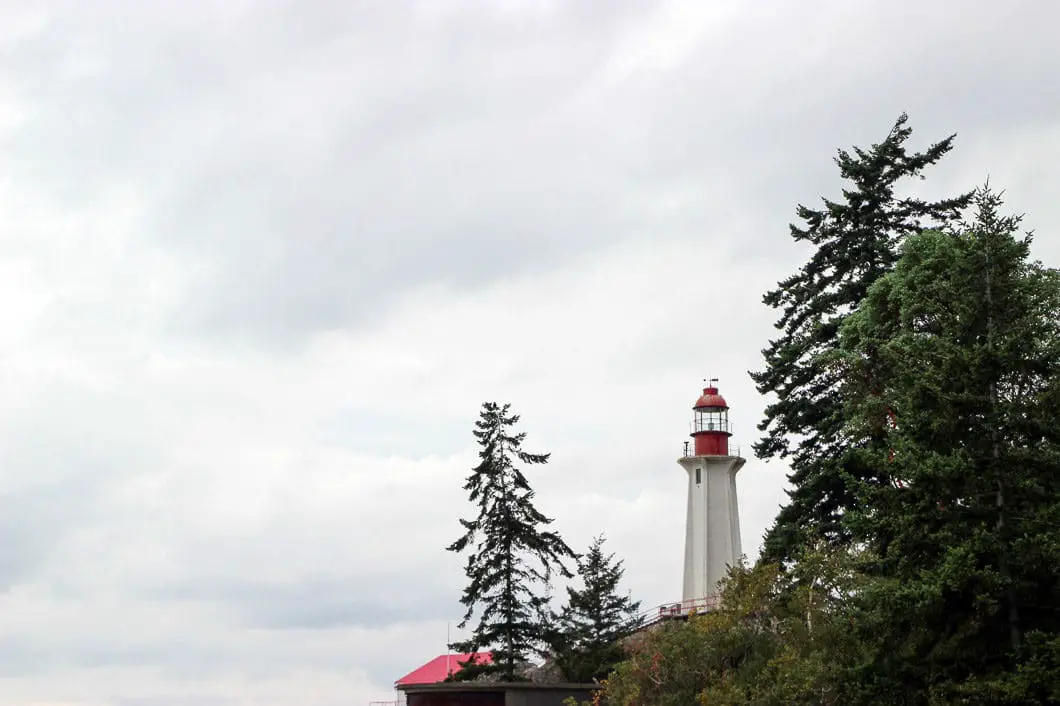
Lighthouse Park is home to an impressive lighthouse built in 1912, which replaced the original lighthouse built in 1874. The lighthouse sits on Point Atkinson, which was charted and named by Captain George Vancouver in 1792.
In 1881 the Federal Government set aside the 75 hectare park as a lighthouse reserve. This act saved the spectacular strand of old growth forest from logging. Today the municipality of West Vancouver leases the land for a whopping $1/ year. Many of the trees in the park are over 500 years old, and the sheer size of them is incredible. Some of the Douglas Firs reach up to 200 feet in the sky. The park has a storied history, including serving as a military defense base during WWII.
As for hiking, there are plenty of trails within the park. Most of the trails are groomed and don’t have excessive elevation change. This makes Lighthouse Park a great destination for those with children, or for those looking for a relaxing hike.
There are so many little trails around Lighthouse Park you can choose your own adventure. You can spend hours exploring all the trails and marveling at the massive trees. Or, if you want to take the direct-route to the lighthouse lookout, you can get to the ocean and back to your car within 30 to 45 minutes.
The bad news is that the large amount of trails can make it a little bit confusing to navigate the park the first time you are there. In total, there are about 10 km of trails. The good news is that the trails are well-marked, and everything connects back to a main trail at some point. It will be helpful to come armed with a Lighthouse Park Map. There are printed copies of the park map available at the trailhead once you get there.
The route described below will give you the best bang-for-your-buck and takes you on a loop around the outer edges of the park. Following this route will take about 2 hours, depending on how much time you spend stopping and enjoying the scenery.
Lighthouse Park Hike Stats
Rating: Easy
Distance: 3.3 km
Net Elevation Change*: Minimal
Highest Point: 105 m
Time Needed: 2 hours
Type: Loop
Season: Year-round
Dogs Allowed: Yes
Est. Driving Time from Vancouver: 30 minutes
Trailhead Coordinates: 49.337445, -123.262991
*For a better understanding of the stats and difficulty rating, check out the Hiking Guides page for details. Always carry The Essentials and fill out a trip plan.
Lighthouse Park Video
Here is a 2-minute video of our experience on this hike!
Lighthouse Park Map and Elevation
Lighthouse Park
Profile
Lighthouse Park Hiking Route
Starting at the southern end of the parking lot (top of the hill), there is an information board with a large map of the park. You can pick a pamphlet/ map here to take with you.
From the main gate, you can walk straight to the Lighthouse lookout by staying on the wide, groomed Beacon Lane Trail, but where’s the fun in that? Instead, walk passed the gate, and follow the first trail immediately on your left. It will be marked as the Salal Loop and will take you up a small, rocky hill.
Following Salal Trail, you will reach a red fire hydrant, and split in the trail. You can go either way. I went left. From here the trail flattens out a little, with a few minor ups and downs. Soon, you’ll come to another junction where the Salal Loop connects to itself, and you’ll see the start of the Arbutus Trail. Take the Arbutus Trail. Shortly after, you come to another junction. Get used to this, there are a lot of junctions.
Here you can take the Deer Fern Trail, or stay on Arbutus. Go left onto the Deer Fern Trail. From here, the trail drops down towards the ocean. As you climb down the trail, you’ll see some houses on your left hand side through the trees. Keep the houses on your left, as the trail climbs back up to the right. You’ll connect back with the Arbutus Trail. Go left here.
The trail now continues to drop down to the ocean. There are some wooden stairs and rock steps as you work your way down to the water.
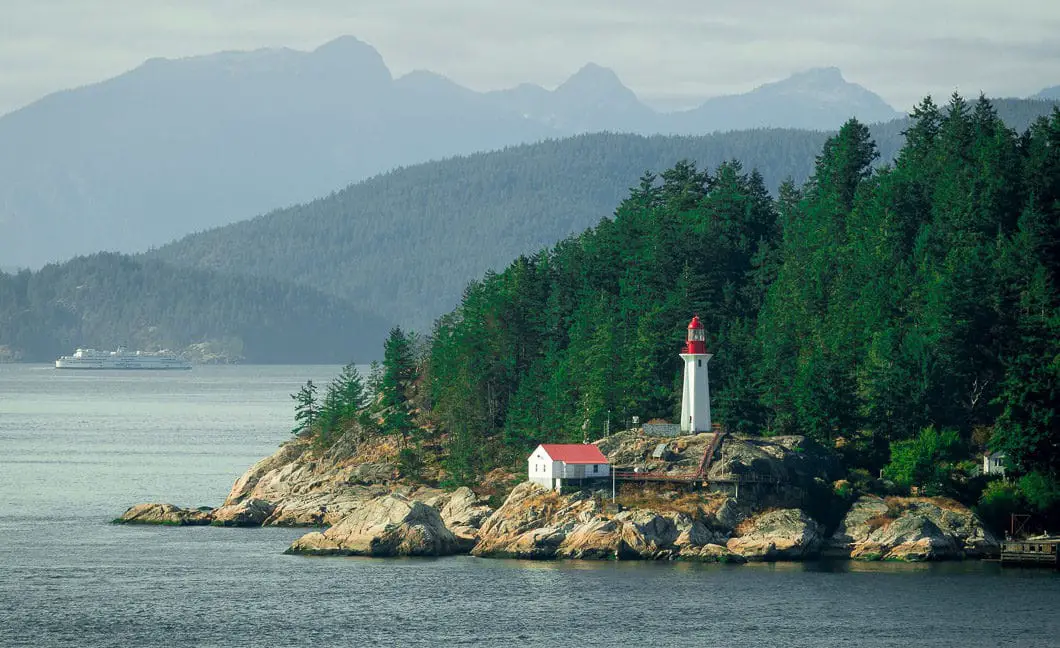
Around the 1.3 km mark into your hike, you should reach the Eagle Point Lookout. This is a great spot to step out onto the rocky outcrop above the water and take a quick break. To the west you can see the lighthouse at Point Atkinson. That is where you will head next.
Carrying back along the trail, go passed the Valley of The Giants Trail, staying on the Arbutus Trail. The trail will climb up a flight of stairs and back into the forest.
After a short way, Arbutus Trail will end and you will come to Valley Trail. When you reach the Valley Trail junction, go left.
You will pass by Starboat Cove, which is a short, picturesque detour if you feel up for it.
Once you’re about 2 km into your hike, you will come to the Lighthouse Station area. You will find some picnic tables, cabins (relics from WWII), and outhouses here. To your left, tucked in behind the cabins is a short trail to East Beach. East Beach is a nice spot to stop, have a snack and stare out onto the ocean. If it’s low tide, you can walk down and search for small crabs and other small ocean lifeforms. It’s a great spot if you’re hiking with kids.
Near the cabins, you’ll also find the signs for the Lighthouse Viewpoint. It’s a quick scramble up a large, open rocky area to get a front row seat of the lighthouse. There’s an engraved stone here with a brief history of the lighthouse.
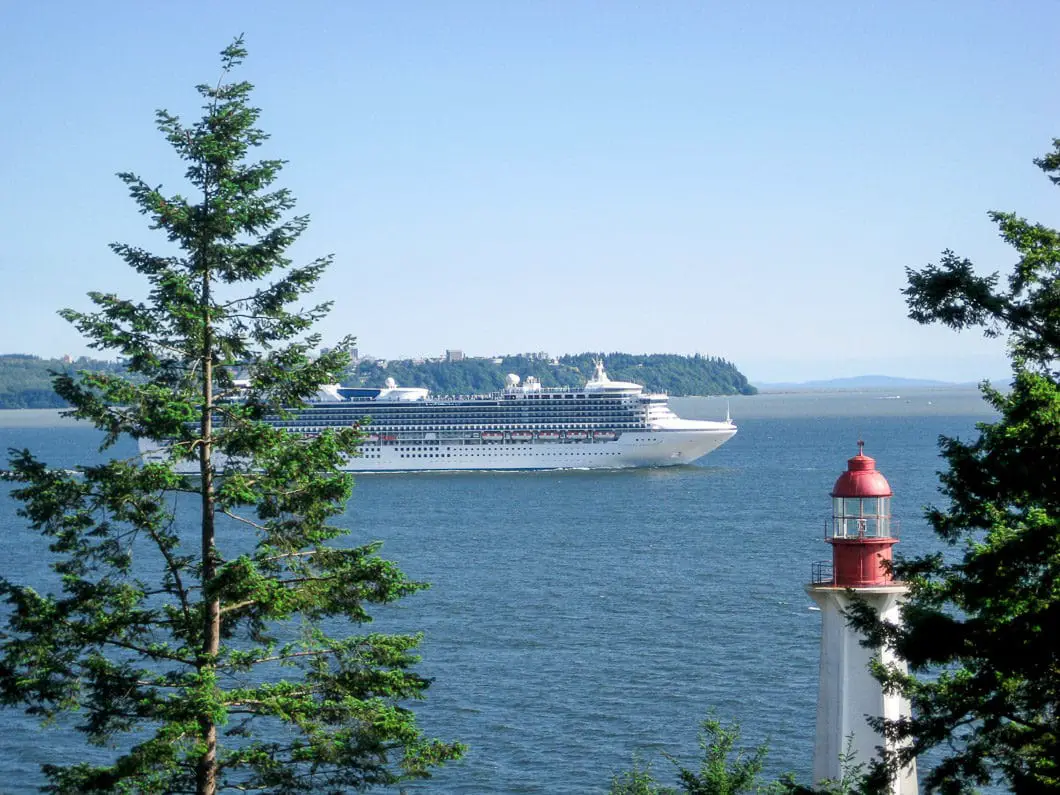
Continuing from Point Atkinson (Lighthouse Lookout)
Cool fact: Located at the southern margin of the Coastal Mountain Plutonic Complex, it stands at the point where Burrard Inlet meets Howe Sound. The rock you see here is old – primarily granitic and varying in age from 96 to 187 million years. Most of it is blanketed by forest, including huge Douglas fir, western hemlock and western red cedar trees. The Park provides habitat to a variety of mosses, lichens, wildflowers, fungi, animals, insects, birds and sea life, some of which is found nowhere else. [Source]
From here, if you’ve had enough, you can take the Beacon Lane Trail directly back to the parking lot. If you want to continue your loop around the park, keep walking west along the trail.
Soon you will connect to Shore Pine Trail. Following Shore Pine Trail, there will be several other viewpoints you can check out. West Beach Trail, Jack Pine Point and Shore Pine Point are three of them. You can detour to any or all these spots as you wish.
Keep following Shore Pine Trail until it connects with the Seven Sisters Trail, and you’re only a few steps away from being back at the parking lot.
There are so many trails within the park you can really walk around to suit what you feel like. It’s easy to extend or shorten your hike from the route described here. The park is so beautiful, you can’t go wrong with whatever route you pick!
For a different perspective of the park, you can also take a sea safari tour from Horseshoe Bay.
Download the PDF version of this guide for offline use
Directions and Parking
To get to Lighthouse Park, take Marine Drive in West Vancouver, which is a splendid drive in itself, on a curvy, narrow road.
Drive westbound along Marine Drive until you reach the park entrance on Beacon Lane. The park entrance (Beacon Lane) is clearly marked on the side of Marine Drive. Once you’re on Beacon Lane, just drive up the road a short ways until you reach the gravel parking lot.
Google Map directions are here.
Other great hikes in this Area
- Eagle Bluffs and Black Mountain (moderate)
- St. Mark’s Summit (moderate)
- Whyte Lake (easy)
- View all hiking guides here

