Grouse Grind – Table of Contents
- Hike Introduction
- Hike Statistics
- Grouse Grind Video
- Map and Elevation
- Hiking Route Description
- Directions and Parking
- Free PDF Download
Grouse Grind Hike Intro
The Grouse Grind Trail at Grouse Mountain is the most popular hike around Vancouver, seeing about 150,000 hikers annually. Locals and tourists flock to this trail to challenge themselves on the steep terrain and for exercise.
The Grouse Grind Trail is located in Grouse Mountain Regional Park which was formed in 2017 in North Vancouver.
At 2.5 km, the Grouse Grind Trail is not long, but because it is so steep it makes for a difficult and strenuous outing. Much of the trail has wooden or rock steps (about 2,830 in total) and is often referred to as Mother Nature’s Stairmaster.
What people love most about the Grouse Grind Trail is that it is a great workout and provides a nice benchmark of your fitness. Because it is so accessible, and because the gondola can be taken back down, many people like to tackle the Grind before or after work.
On the downside, the trail is often crowded, you are not allowed to down-hike, and there are no real views until you reach the Grouse Mountain lodge.
There is a wide variance in completion times for the Grouse Grind. The average ‘Grind time’ is 1.5 hours. The fastest known completion time is just under 24 minutes, but for some, it can take more than 2 hours to complete.
Hikers need to be rescued from the Grouse Grind Trail every year because they underestimate the difficulty of the climb up. People twist ankles, become dehydrated, run out of energy to keep climbing, and some have gone into cardiac arrest. For this reason, it is important to be prepared:
- Wear appropriate footwear and clothing (no sandals)
- Bring plenty of water and some snacks
- Make sure you leave plenty of time to finish before sunset
- Bring a cell phone
- Avoid this hike if you have heart problems or high blood pressure, or haven’t done any hiking before
It is also important to note that downclimbing is not permitted on the Grouse Grind Trail, because there are so many people climbing up. A ticket must be purchased to go down the Skyride gondola, or you can down-hike the BCMC Trail.
The Grouse Grind Trail is closed during the winter months due to snow on the trail. It is typically open from May to October every year. The current trail conditions and hours can be found on the Metro Vancouver website for the park.
The BCMC and Flint and Feather trails are great alternatives to the Grouse Grind. They are adjacent to the Grouse Grind and you can get a similar workout while avoiding most of the crowds.
Grouse Grind Hike Stats (one-way)
Rating: Difficult
Distance: 2.5 km
Net Elevation Change*: 798 m
Highest Point: 1,092 m
Time Needed: 1.5 Hours
Type: Point-to-point
Season: May – October
Dogs Allowed: No
Est. Driving Time from Vancouver: 30 Minutes
Trailhead Coordinates: 49.371239, -123.098348
*For a better understanding of the stats and difficulty rating, check out the Hiking Guides page for details. Always carry The Essentials and fill out a trip plan.
Grouse Grind Video
Here is a 5-minute video of our experience on this hike!
Grouse Grind Hike Map and Elevation
Grouse Grind Trail
Profile
Grouse Grind Hiking Route
The trail starts at the top of the parking lot on the east side of Nancy Green Way. There are bathrooms on the west side parking lot if you need them before starting the hike.
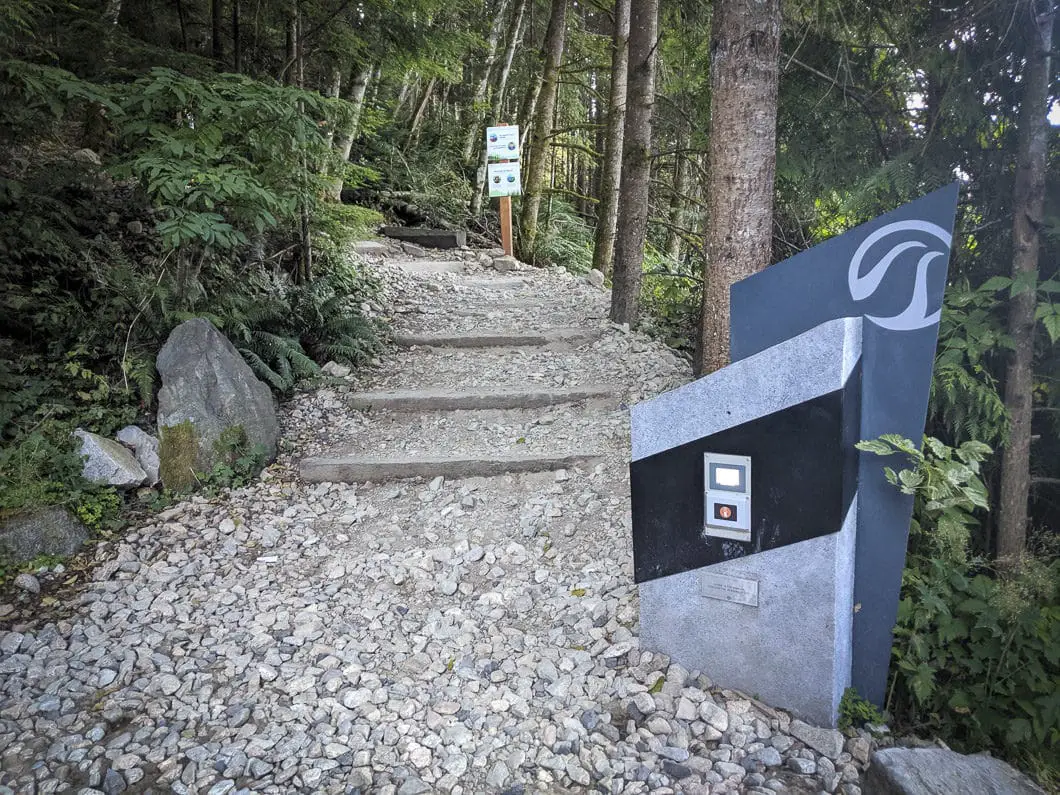
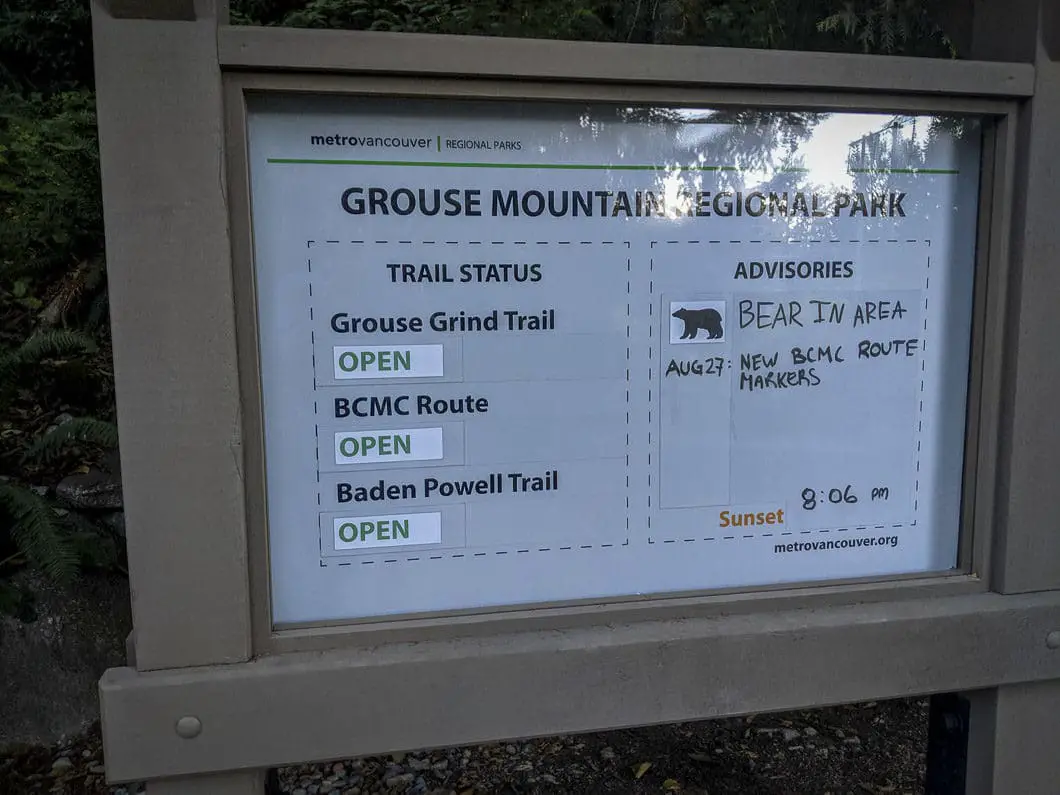
At the start of the trail, there is a gate that is locked when the trail is closed. Near the gate, there is information about the Grouse Grind Trail. This includes the current trail conditions and recent wildlife sightings. Here, there is also a ‘Grind timer’. A chip reader that will clock and record your Grind completion times. A timer card can be purchased from Grouse Mountain Resort.
As soon as you start hiking the trail, there is a junction after the first few steps. There is a trail sign here. You will go left to climb up the Grouse Grind. The right is marked for the Baden-Powell and BCMC trails.
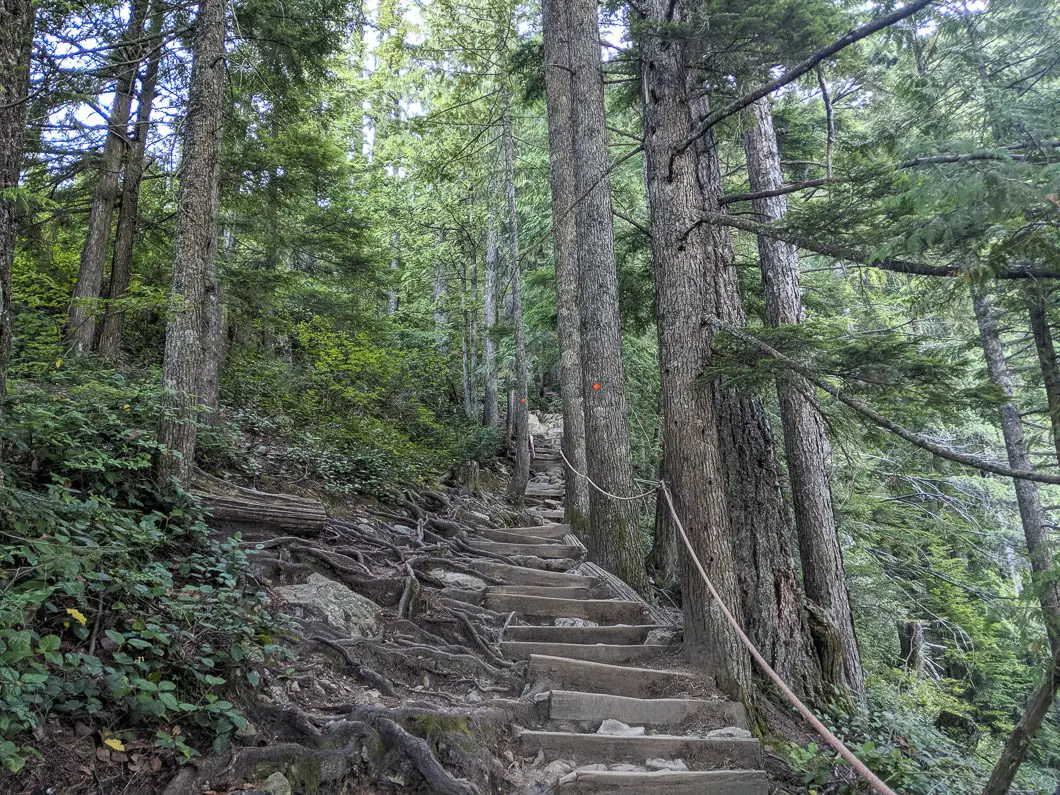
The trail begins climbing immediately. As the trail starts, there are some rock stairs along the rocky path. There are also orange markers in the trees along the trail, though staying on the path of the Grouse Grind is straightforward.
Help Us Create New Hiking Guides!
Advertising revenue is falling quickly across the internet, and independently-run sites like Outdoor Vancouver are hit hardest by it. We are committed to keeping Outdoor Vancouver free and independent, but we need to find other ways to continue operating this site.
If you like our hiking guides and would like to help, please consider making a contribution with the PayPal or Patreon links below – any amount helps! There is also a list of other ways you can support Outdoor Vancouver here!
Becoming a Patron through Patreon unlocks membership benefits and rewards. Learn More.
A one-time donation through PayPal helps with monthly website hosting costs.
In addition to the orange markers, there are also large, white Grouse Grind Trail markers in the trees. They are labeled with “GG” and are numbered from #1 at the bottom up to #40 at the top. If you come across an injured hiker and need to call for help, these numbered markers can be helpful.
After about five minutes and 300 meters, you come to a large, yellow warning sign that reads an exclusion of liability for injury on the trail.
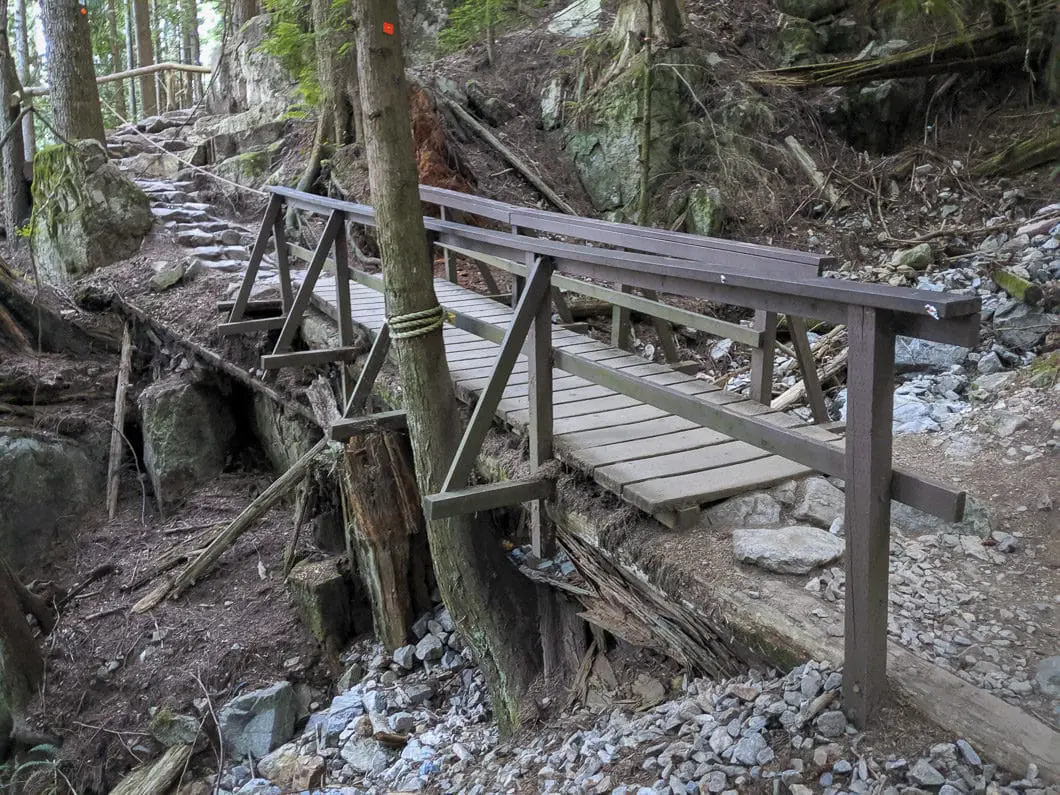
After about 15 minutes and 700 meters, you come to a small, wooden bridge. After the bridge, there is a series of wooden steps with the Grouse Grind marker #12 shortly after. The ¼ mark of the trail lies a few minutes further up the trail.
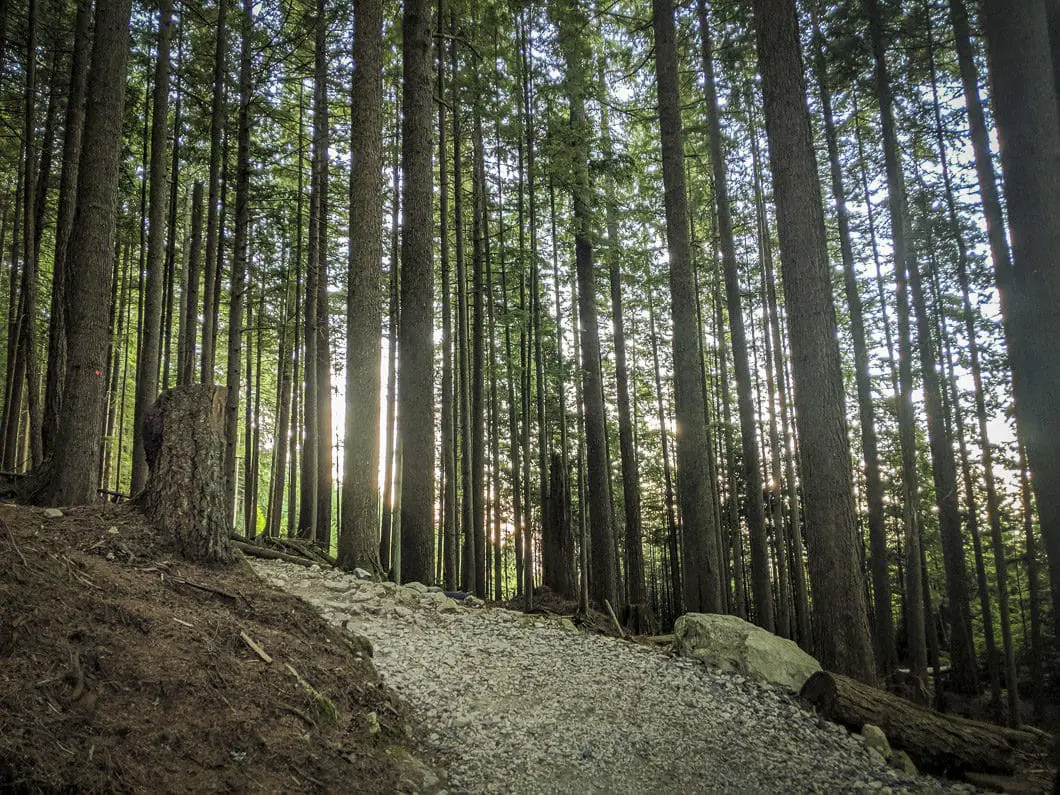
Around GG marker #18, the trail becomes steeper. Keep climbing, enjoying the dense forest of Douglas fir, western hemlock and western red cedar.
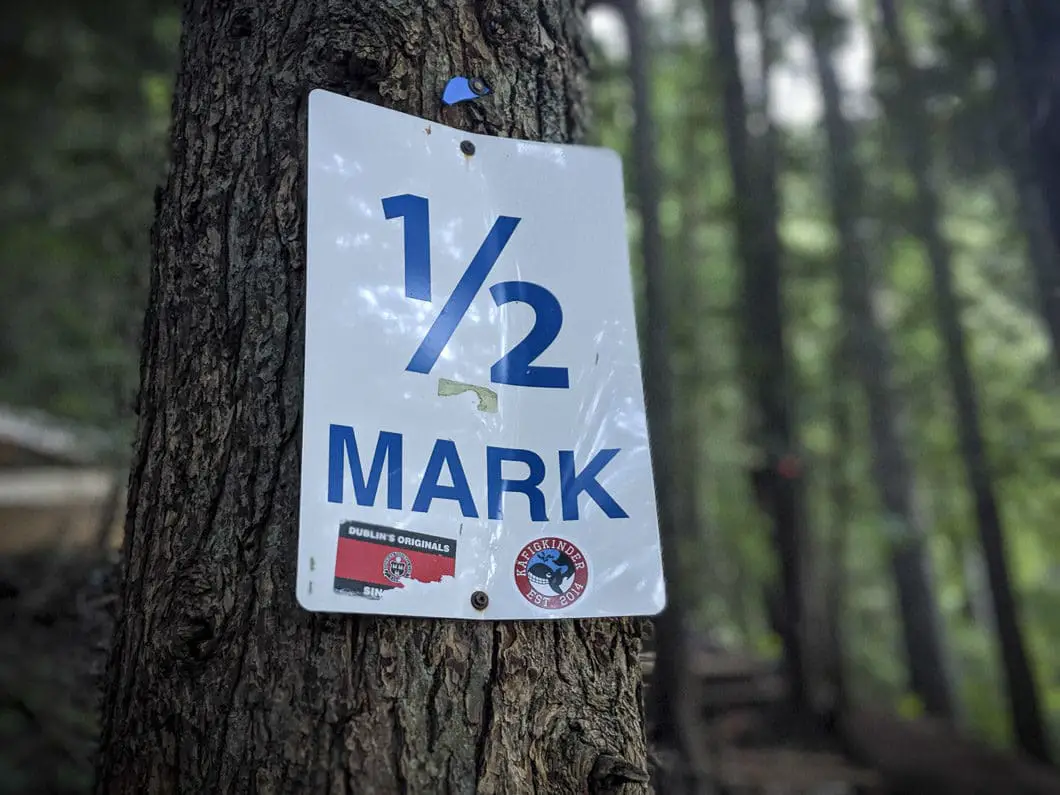
You will reach the large, blue ½ marker near the GG #23. The large, blue ¼, ½, and ¾ markers indicate elevation, not distance – so it is important to note the second half of the trail is steeper, but not as long in distance.
If you are curious about the distance you have completed, it is better to look at the GG markers, as they are more evenly spaced. Once you reach GG #20/40, you are roughly halfway through the distance, though more than half the elevation still remains.
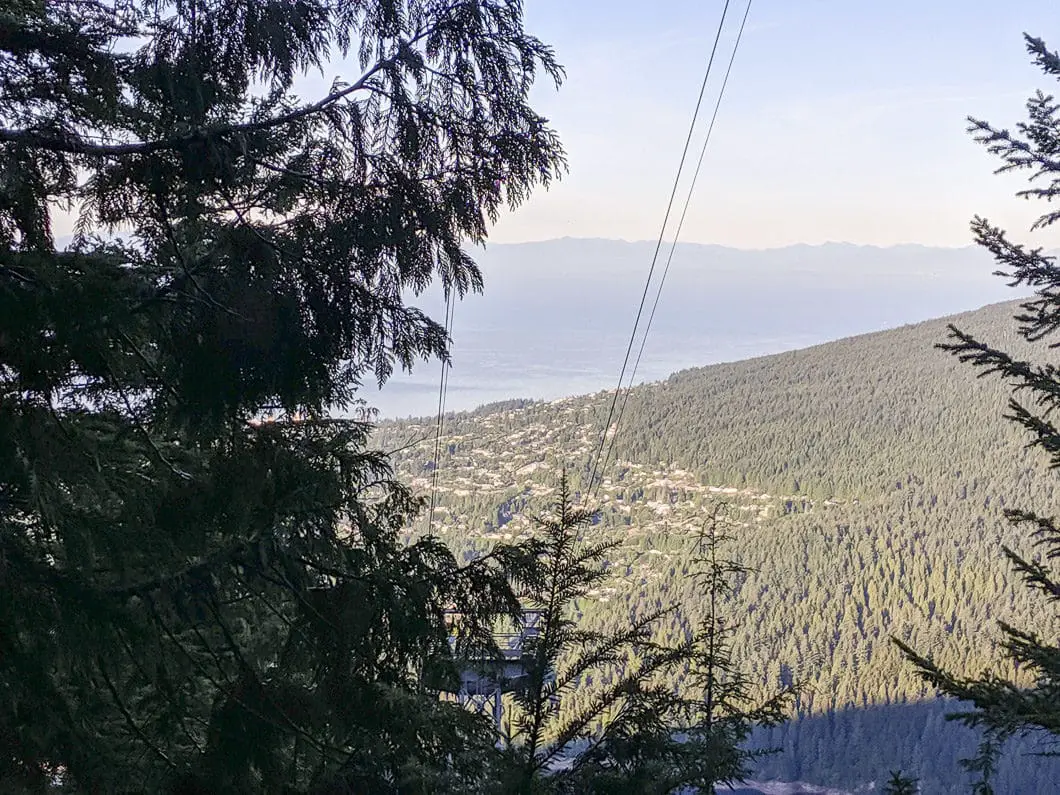
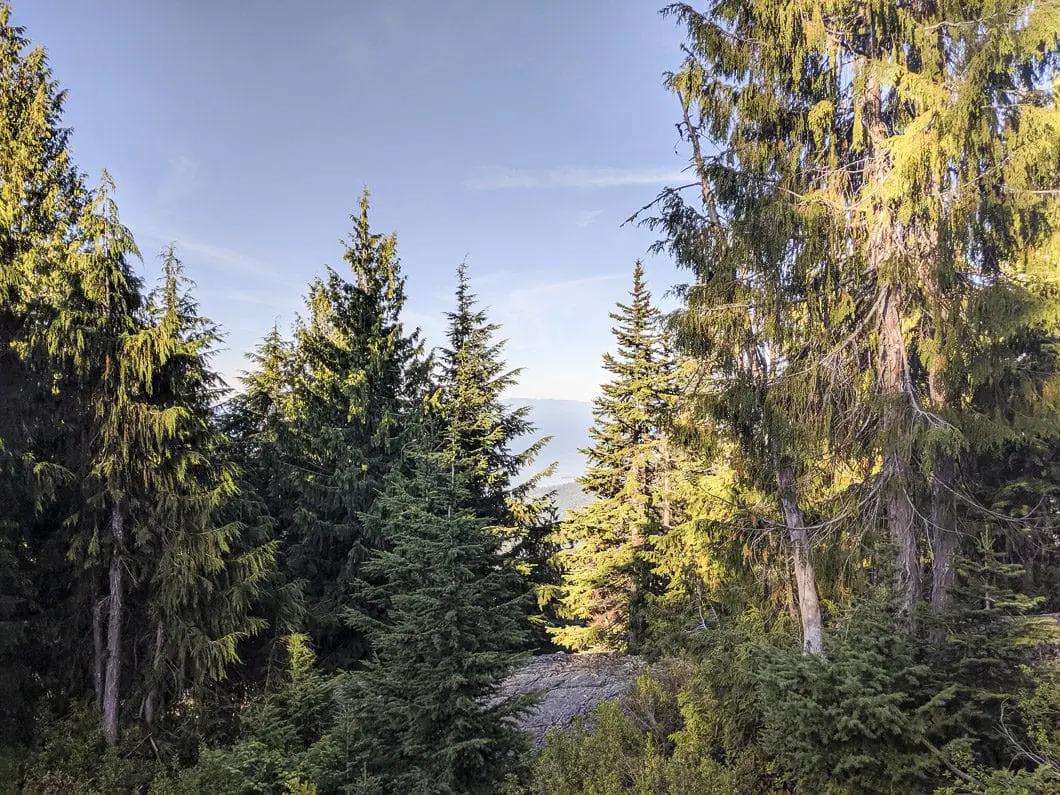
After GG #24 you will reach a particularly steep section with a flurry of wooden stairs. Next, you will come to a few spots that provide partial views through the trees. You can catch glimpses of downtown Vancouver and West Vancouver below.
Around marker #29, you will come to a gully on your right and there is another partial view through the trees from this point.
Cool fact: “Hikers were first recorded on Grouse Mountain in 1894 when a hunting party shot a blue grouse bird and named the mountain in the bird’s honour. It wasn’t until the 1920s and early 30s, however, that Grouse Mountain saw the first big wave of adventurous hikers. Several thousand people flocked to the face of the mountain each year looking to reach the cabins located in the Grouse Mountain village at the foot of what is now known as The Cut ski run.” [source]
From here, the trail reaches its steepest stretch and there is a long section of wooden stairs with short switchbacks.
Near trail marker #32, you will reach the ¾ mark.
Download the PDF version of this guide for offline use
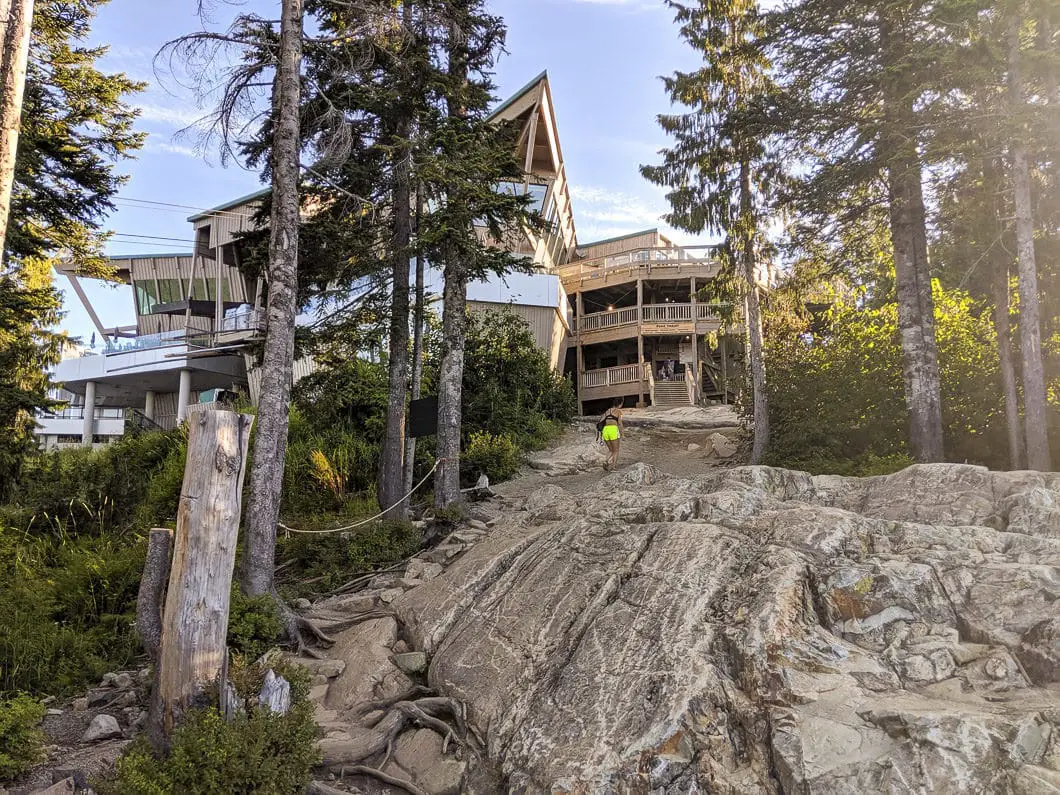
Mercifully, as you come to the final 100 meters of the trail, it starts to level out. You will, at last, emerge from the trees with a view of the Grouse Mountain lodge just ahead.
At the top, you can enjoy a drink or food from the lodge, and pay for a download gondola ticket. If you prefer to hike down, you can take the adjacent BCMC, which is equally as steep as the Grouse Grind but does not have the aid of stairs.
From the top, there are also longer hikes available. Dam Mountain, Crown Mountain, and Goat Mountain, are all great hikes doable from the Grouse Mountain Lodge
Directions and Parking
From the Upper Levels Highway (HWY #1), take exit #14, heading north onto Capilano Road. Capilano Road will turn into Nancy Green Way. Follow Nancy Green Way to the end, where it reaches the Grouse Mountain parking lot.
The Grouse Mountain parking is all pay parking. There is some limited free parking on the right-hand side of the road as you approach the parking lot.
Google Map directions are here.
Outdoor Vancouver and Reader’s Hike Rating
[wp-review]Other great hikes in this area
- BCMC Trail(difficult)
- Flint and Feather Trail (difficult)
- Dam Mountain (moderate)
- View all hiking guides here


Nick
the elevation gain is incorrect. It is 798m, not 298m
Karl W
Typo, thanks for letting me know!