Ladner Creek Trestle – Table of Contents
- Hike Introduction
- Hike Statistics
- Ladner Trestle Video
- Map and Elevation
- Hiking Route Description
- Directions and Parking
- Free PDF Download
Ladner Creek Trestle Hike Intro
The Ladner Creek Trestle hike is a small section of the historic Kettle Valley Railway. The trailhead is accessed from a pullout along the Coquihalla Highway, between Hope and the Coquihalla Summit.
The trail is easy to follow but has a few steep sections with loose dirt. It only takes about 30 minutes to reach the trestle and a decommissioned tunnel. The trail is easy enough, except for the final 100 meters of the trail, which has some precarious sections. The final stretch may not be suitable for children or anyone unsure of their footing.
You reach a nice viewpoint of the trestle before the difficult trail begins. So, you can get a nice look at the trestle without having to walk all the way to the base of it, if you don’t want to.
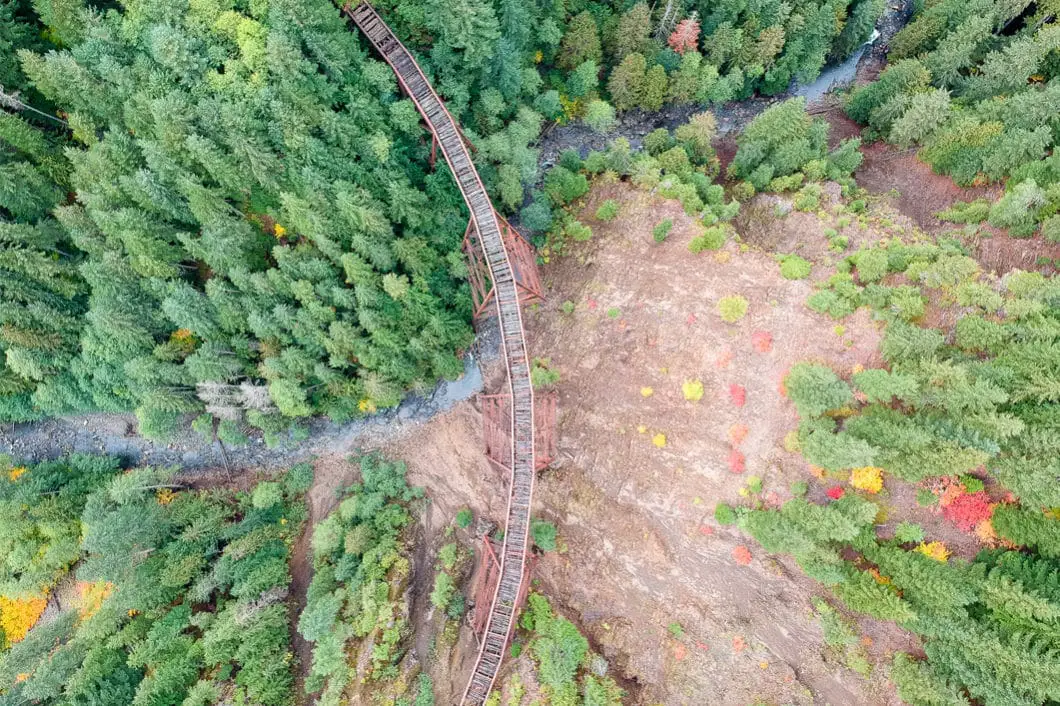
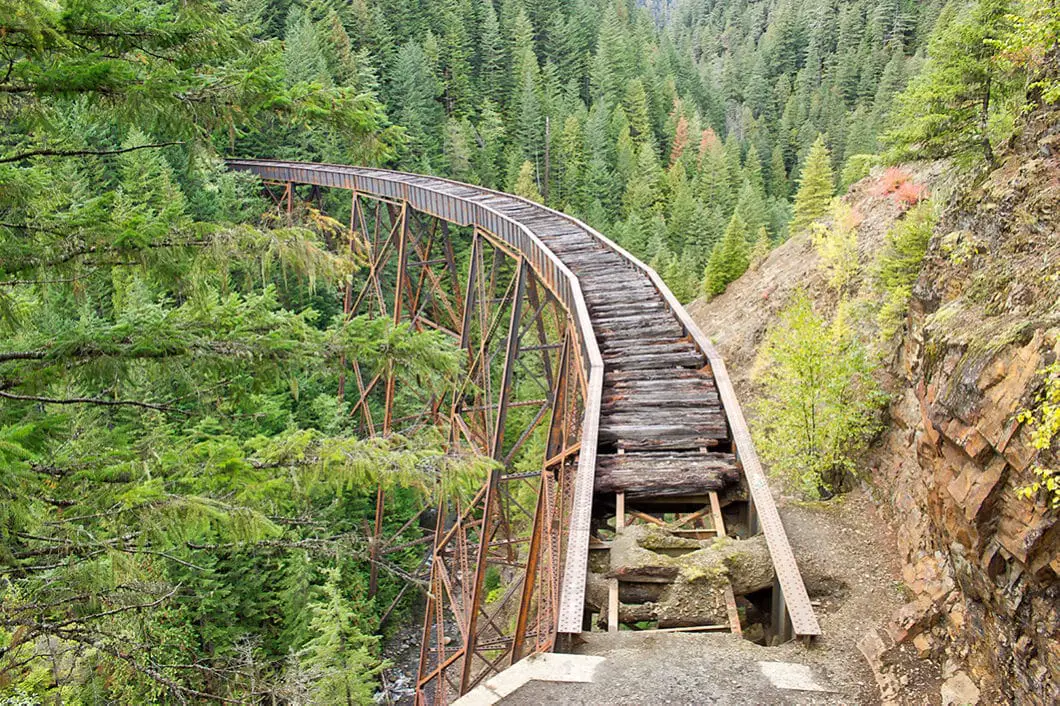
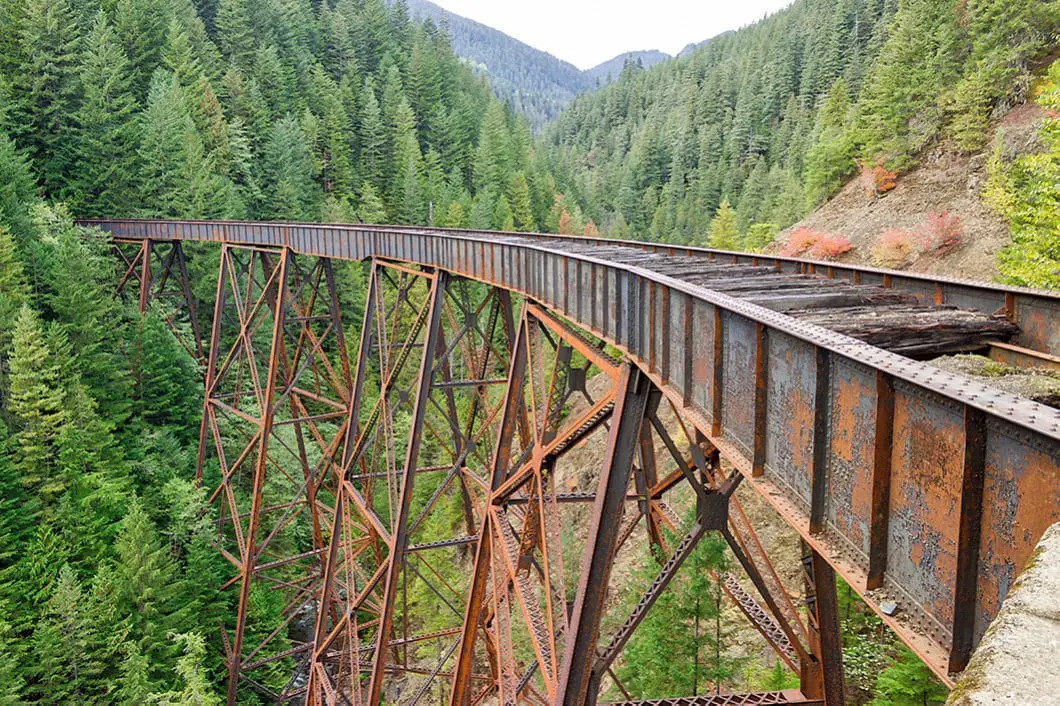
The old trestle itself is an impressive sight, towering above Ladner Creek.
We don’t recommend this hike when the trail is covered in snow as it only becomes more dangerous.
Ladner Creek Trestle Hike Stats
Rating: Moderate
Distance: 2 km
Net Elevation Change*: 80 m
Highest Point: 520 m
Time Needed: 1 Hour
Type: Out-and-back
Season: May – October
Dogs Allowed: Yes
Est. Driving Time from Vancouver: 2.5 Hours
Trailhead Coordinates: 49.494673, -121.240641
*For a better understanding of the stats and difficulty rating, check out the Hiking Guides page for details. Always carry The Essentials and fill out a trip plan.
Ladner Creek Trestle Video
Here is a 1-minute video overview of our experience hiking the trestle!
Ladner Creek Trestle Hike Map and Elevation
Ladner Creek Treslte
Profile
Ladner Creek Trestle Hiking Route
As soon as you pull off the highway (directions), you can park on the gravel area to the left. The trailhead is close to the highway, so don’t drive down the gravel road once you exit.
You’ll find the trail off to the right-hand side of the road. The first section of trail leads to a small scree slope. The trail climbs up the loose rock and quickly turns into single-track trail.
The trail does a hairpin turn to the right and climbs up sharply. The trail is clearly defined and easy to follow once you’re on it.
The trail cuts into the trees and continues gaining elevation. After the initial steep climb, it levels out and carries away from the highway.
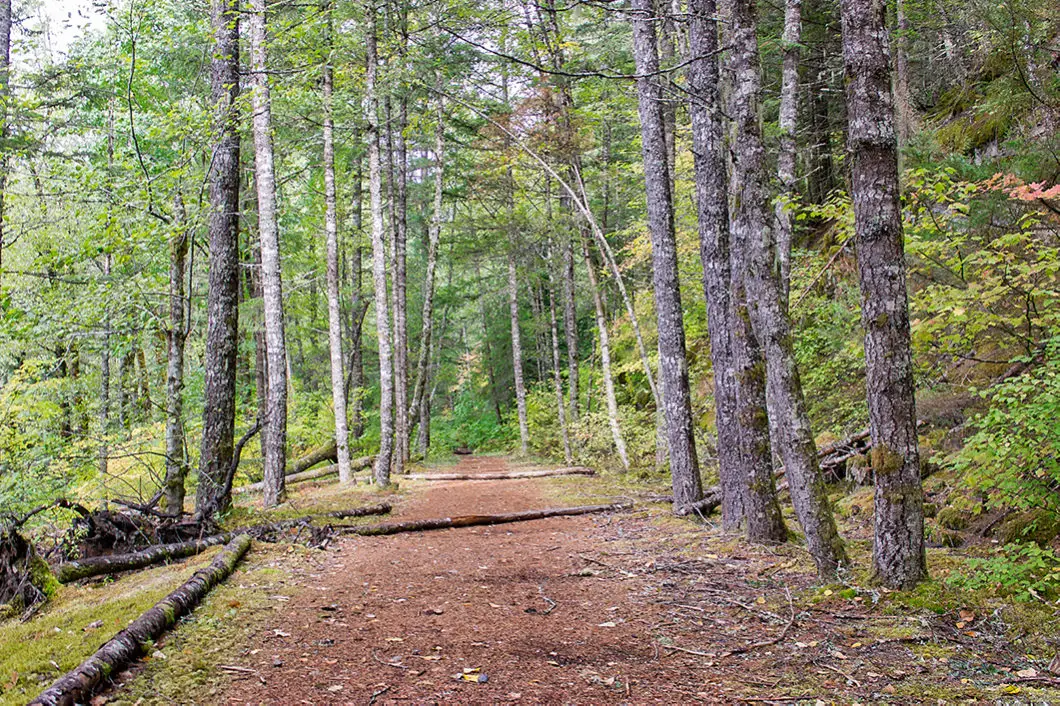
After about 300 meters, the trail becomes flat and wide. There are no markings or flagging but you won’t have trouble staying on the trail. Here, walking along the old railbed is nice and easy.
After about 900 m, (about 15 – 20 minutes of hiking) you come to the tunnel. This side of the tunnel was reinforced in 1949. You’ll be able to see the year engraved into the concrete at the top of the tunnel. The tunnel has been collapsed and cannot be entered. This was done for liability concerns after the Kettle Valley Railway was decommissioned. [source]
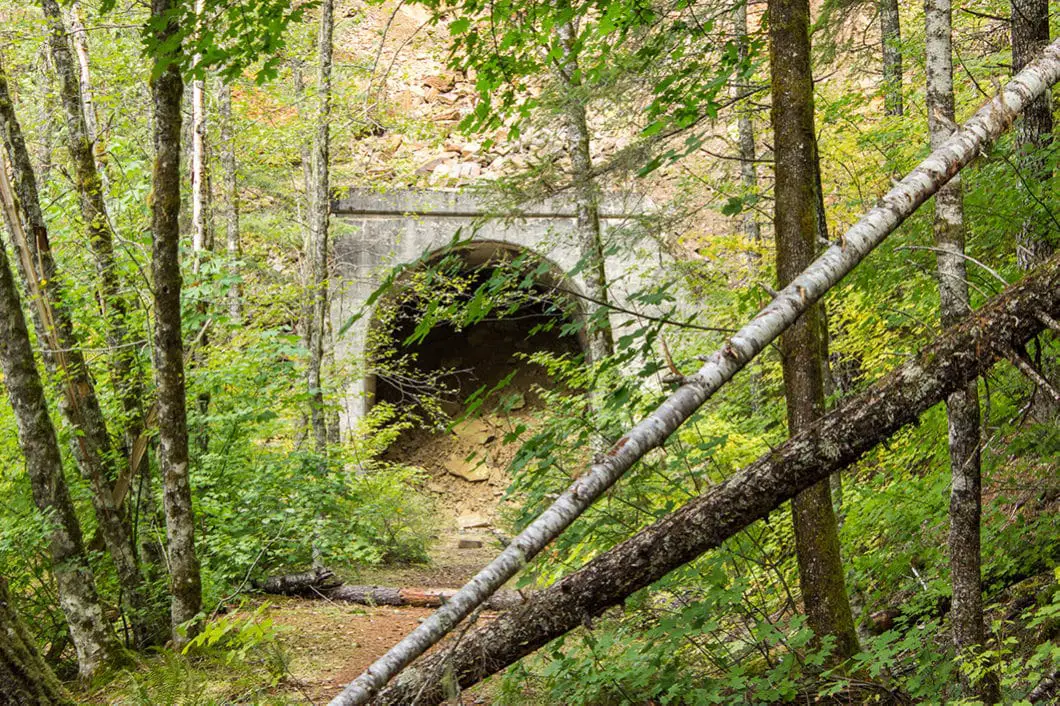
As the tunnel is collapsed, you must walk around it. The trail continues up to the left of the tunnel. This is a steep section of the trail. There are ropes placed on the trail to assist your climb.
Cool fact: “The initial event marking the completion of the railway took place near the [Ladner Creek] trestle in July, 1916 – probably on July 30, when a special train was run the day before operations began”. [source]
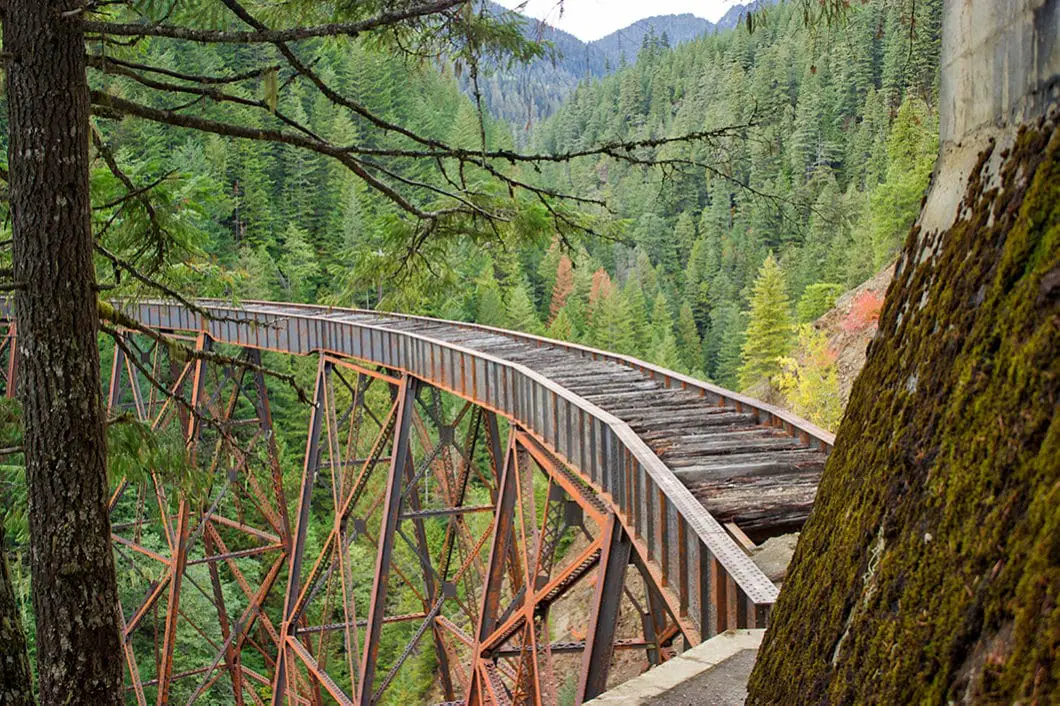
Once you’ve climbed all the way up, the trail follows the top of the tunnel. You’ll soon come to a view of the trestle. For those not comfortable with a little bit of scrambling, you can enjoy the view from here and call it a day. The most difficult section of the hike is the next descent to the trestle itself.
There is a rope to help you descend the loose dirt. Be cautious with your footing. A slide here would not be good. Carefully follow the trail down. You’ll cross an area of loose dirt as you climb down beside the other entrance of the tunnel.
Finally, you’ll come to the bottom of the tunnel with a nice overlook of the trestle.
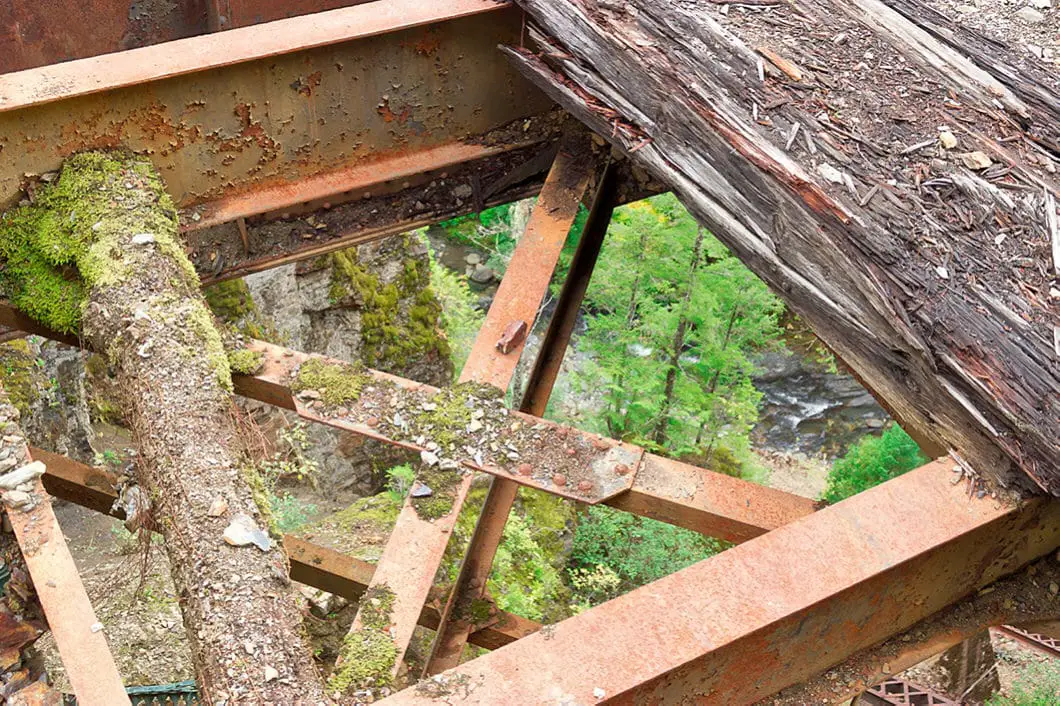
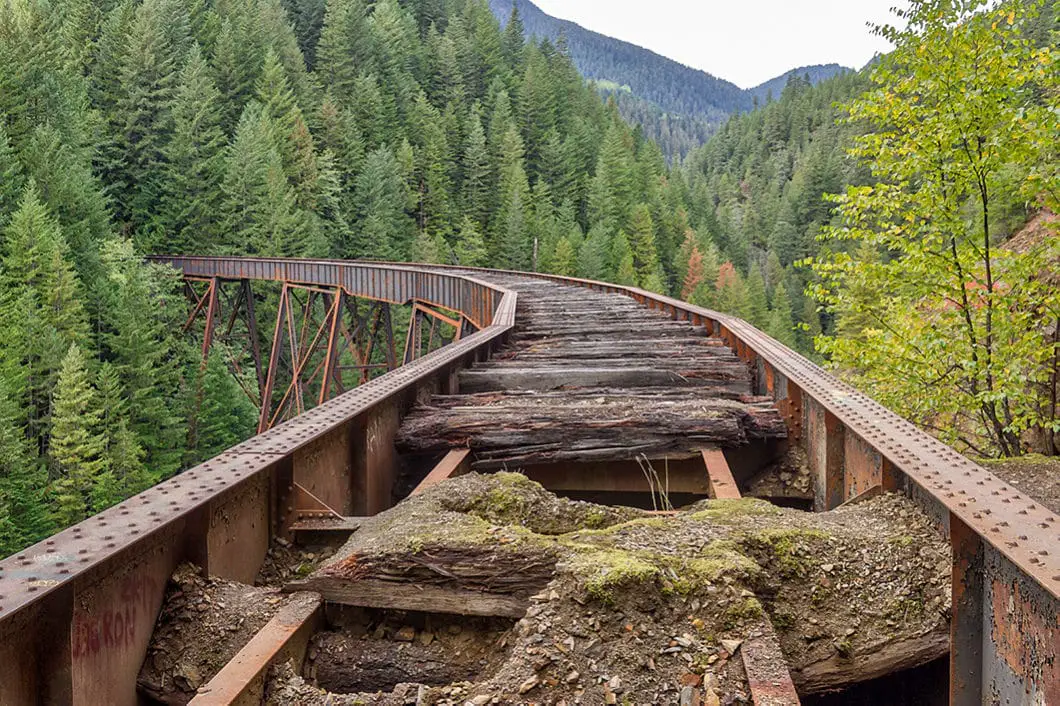
Enjoy the view of the trestle and down into Ladner Creek below. Do not step out onto the trestle. The wood is rotten and unreliable. The steel supports are not worth risking your life on for an Instagram photo. (Since we visited the trestle a fence has been placed in front of the trestle). You may notice a faint trail that appears to go down beside the bridge. This is not a trail and is extremely dangerous. Do no proceed any further than the overlook of the bridge.
You can walk a little way into the tunnel, but there’s not much to see inside. You’ll notice that this side of the tunnel was reinforced in 1944, as evidenced by the engraving at the top.
When you’re ready, retrace your steps back to your car.
Download the PDF version of this guide for offline use
Directions and Parking
From Vancouver, take Trans-Canada Hwy/BC-1 E. At Hope, continue onto BC-5 N (take the Coquihalla, not the Crowsnest).
Carry on until you see exit #202 toward Portia. Take exit #202 and turn left, going under the highway and making a U-turn.
Merge back onto BC-5, this time heading south. After a few minutes, heading down the hill, you’ll approach the Ladner Creek Bridge. Before the bridge, there is a small gravel pullout on the right.
Please exit (and enter back onto) the highway cautiously!
Google Map directions are here.
Other great hikes in this area
- Yak Peak (difficult)
- Othello Tunnels (easy)
- Falls Lake (easy)
- View all hiking guides here
Download the PDF version of this guide for offline use
