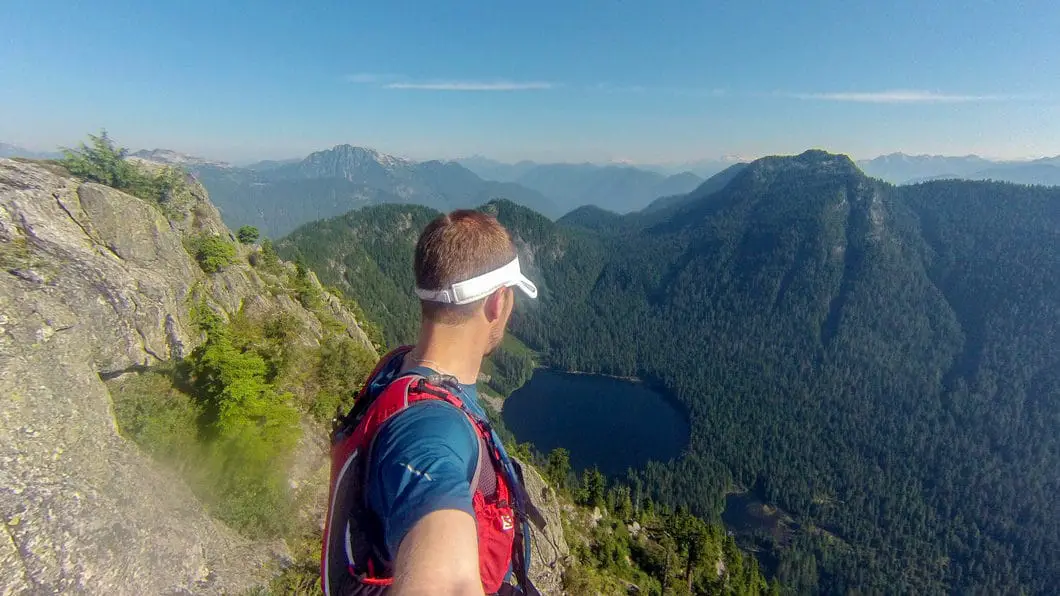
Mount Elsay Hike – Table of Contents
- Hike Introduction
- Hike Statistics
- Mount Elsay Video
- Map and Elevation
- Hiking Route Description
- Directions and Parking
- Free PDF Download
Mount Elsay Hike Intro
Mount Elsay is located north of North Vancouver, within Mount Seymour Provincial Park. Sitting at an elevation of 1,419 m, it is named after the nearby Elsay Lake. It can be seen to the north from the summit of Mount Seymour, sitting in the divide between the Seymour River and Indian Arm. It is a challenging hike, and rewards with fantastic scenery and the feeling of a full day’s adventure. Best of all, very few people seem to hike the trail to Mount Elsay, once you’ve ducked off the main trail to Mount Seymour.
The hike to Mount Elsay can be tackled as an out-and-back from two directions, but is best done as one big loop. This guide describes the route going towards Mount Seymour, taking the west trail (located in the saddle between the 2nd and 3rd peaks of Seymour) and exiting via the Elsay Lake Trail. This creates a large loop in a clockwise fashion, leaving a short section at the start and end of the hike, which you will double-back on. While it can be completed in the other direction, the clockwise direction gives you a chance to start early in the day and detour to the summit of Mount Seymour before the crowds arrive at that popular destination.
The Mount Elsay Trail itself is long and difficult, and should not be undertaken by anyone without plenty of hiking experience. Sections of the trail are hard to follow, very rough, and there are exposed scree crossings and a massive boulder field to navigate. The hike to Mount Elsay takes you deep into Vancouver’s backcountry, where few travel. Take extreme caution on this hike.
It is also worth noting the cumulative elevation gain of the Mount Elsay hike is far greater than the simple 420 m difference between the parking lot and the summit, as shown in the stats below.
Mount Elsay Hike Stats
Rating: Difficult
Distance: 15 km
Net Elevation Change*: 420 m
Highest Point: 1,419 m
Time Needed: 8 – 9 Hours
Type: Partial Loop
Season: July to October
Dogs Allowed: Yes
Est. Driving Time from Vancouver: 30 Minutes
Trailhead Coordinates: 49.367516 -122.949211
*For a better understanding of the stats and difficulty rating, check out the Hiking Guides page for details. Always carry The Essentials and fill out a trip plan.
Mount Elsay Video
Here is a 3-minute video of our experience on this hike!
Mount Elsay Hike Map and Elevation
Mt. Elsay Trail
Profile
Mount Elsay Hiking Route
The hike to Mount Elsay starts at the Mount Seymour parking lot. You will follow the route towards Mount Seymour, to a saddle just beyond the second peak.
Start from the trailhead at the top of the parking lot. Follow the trail which runs north, parallel to the Manning ski run. There are signs here to get you started in the right direction (Dog Mountain and Mystery Lake are two other popular trails which start from the same point).
Follow the marked trail for over 1 km, until you come out onto a dirt road. Follow the road uphill and stay to your left. You’ll see the marked trail pick up again on your left ducking into the trees to Sugar Bowl Pond. The trail will begin to climb, and you will soon reach Brockton Point (a rocky outcrop on your left).
About 15 minutes past Brockton Point, and 3 km into the hike, you’ll come to the turnoff for Elsay Lake – this is where you will return from on the way back from the loop.
Follow the direction marked for Mount Seymour, to the left. After more uphill climbing, you’ll soon be at a crest between Pump Peak and Tim Jones Peak.
Follow the trail down a short way as it heads north towards Tim Jones Peak. Follow the orange paint on the rocks. You will come to a junction which marks the detour to the Tim Jones Peak, 70 m away. Here, there is a nice view of Coliseum Mountain, Crown Mountain, Lynn Peak and South Needle.
After the Tim Jones Peak, you will drop down steeply towards the col before the 3rd Peak. At the crux of the col there is a trail that will divert off to your left, down into the gulley. It is hard to notice other than a small piece of yellow tape on one of the trees, and a few small cairns down on the trail to your left. It may take a few minutes of searching to find the trail, but you will know once you have found it. Don’t begin to descend unless you are on a trail.
Before descending down the towards Mount Elsay Trail, you can do a 30-minute detour to the summit of Mount Seymour and return if you wish. For a more detailed description of this first section of the hike, please see the Mount Seymour hike guide.
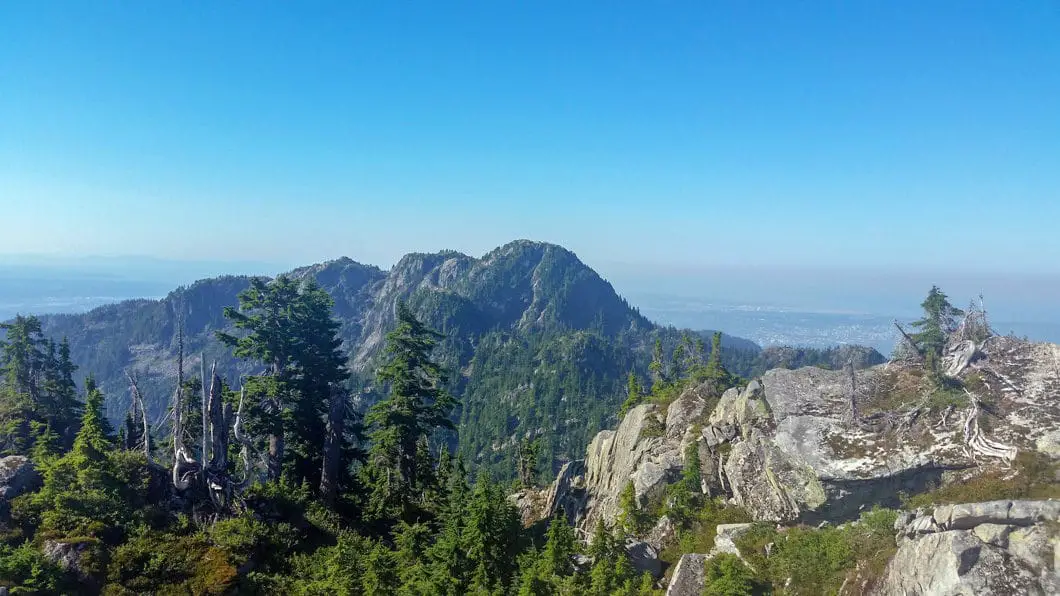
The Mount Elsay Trail from the Seymour Col
Interesting fact: On 28 April 1947, a Lockheed 18 Lodestar Fin 53 CF-TDF, by Trans-Canada Air Lines (now Air Canada), disappeared in southwestern British Columbia with 15 people on board with no survivors. The crash site was discovered 47 years later, in September 1994, on Mount Elsay.1
Dropping down onto the narrow trail, you quickly lose elevation as you follow the pink tape in some of the bushes. A few minutes down the trail, there is a metal tag on a tree indicating the Mount Elsay Trail. Once you’ve lost about 150 m elevation, the trail will turn northward and enter into the trees.
From here the trail is not very well maintained, and you will come across deadfall and sections of overgrowth.
The trail levels out and flanks the west side of Mount Seymour. The trail is established enough that it is easy to follow and stay on track, however it is rugged and slow moving.
The trail will climb sharply back up. Keep following the ribbons. You come to a small scree slope and the trail will split off again to your left back into the trees. You will come out into an open area with a small rocky bluff on your left. The trail looks like it splits here, and you could continue on to the right (underneath the northern side of the Mount Seymour peak). Don’t go right, but instead go left up onto the small rock peak and follow the flagging. If you end up on a ‘trail’ with no flagging for any significant stretch of time, you may have gone off course and it’s worth doubling back to make sure you’re on the actual trail.
From the rocky bluff, the trail will drop down sharply, marked by orange tape. You will soon hit a massive talus slope below the north face of Mount Seymour. Look carefully and you will see some small cairns scattered across the slope and some orange flagging on a tree on the other side. Follow this route carefully across the slope and regain the trail on the other side.
The trail will take you back into the trees for a brief period before reaching another large scree slope to navigate across. This slope is slightly smaller than the previous, but carefully make your way across following the cairns to pick up the trail again on the other side.
You’ll now be on a ridge, north of Runner Peak and Mount Seymour, and approaching Mount Elsay. The trail loses and gains some elevation, and you will come to a junction, which (as of this writing) is unmarked. You want to stay left at this junction, heading uphill. Remember this junction, however, as on the way back you will go in the other direction to complete a loop around Mount Seymour.
Heading up the hill, you will soon notice a marker in a tree on your left. It marks another junction just ahead, whereby going left will take you to Mount Bishop. Stay straight, going uphill. The route to Vicar Lakes, Mount Bishop and the Indian Arm Trail heads left shortly after the ridge starts to rise to Mount Elsay. The trail to Mount Bishop is marked with blue marking tape, so make sure you don’t go on this trail by mistake. From this junction, it’s a 1 km, steep climb to reach the summit of Mount Elsay. The trail is overgrown in sections, and can be hard to stay on track, so keep a keen eye out for flagging.
You will come to an exposed rock face, and a fantastic view of Mount Seymour’s north face will open up behind you – a perspective of the mountain few ever see. You are nearly at the summit.
Once you reach the Mount Elsay summit, a panoramic view opens up around you. From Mount Elsay, you will see Mount Seymour and Runner Peak to the south. Mount Bishop will be visible directly to the north with Elsay Lake below it. Eat and rest here, getting your legs ready for the long, technical descent ahead.
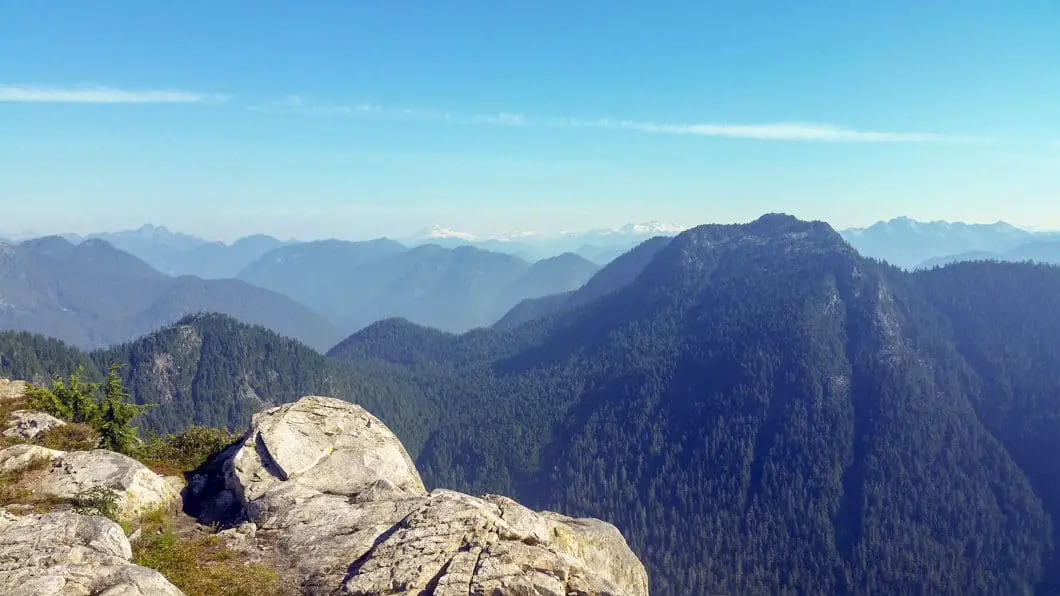
Returning from Mount Elsay
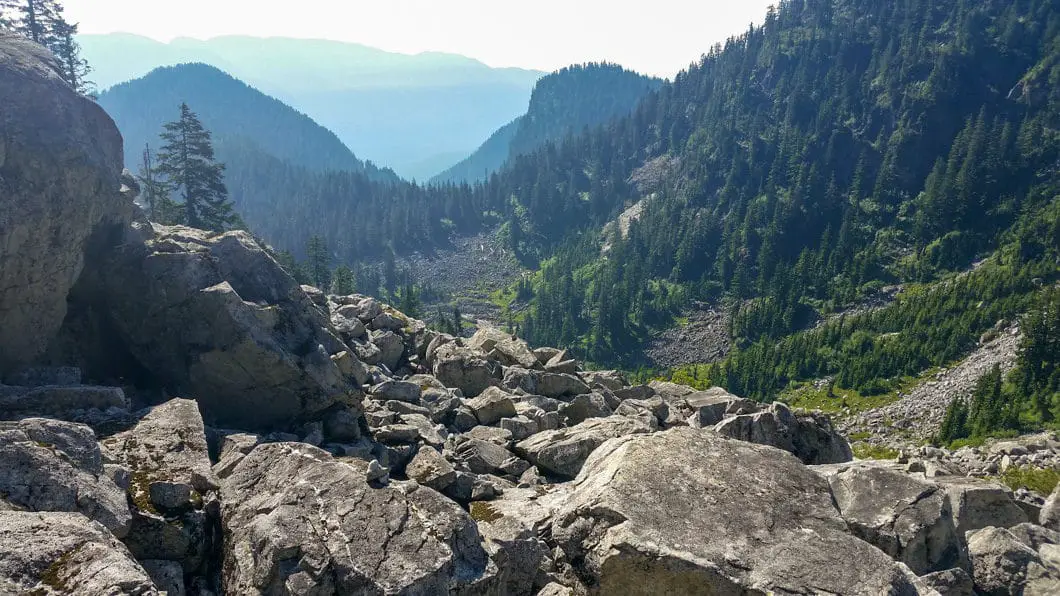
Climb back down 1 km to the junction. Make sure you don’t miss it. Go left at the junction and you will emerge into a massive boulder field. It’s a long, quad-burning way down to the bottom of the field. If you’ve ever hiked Hanes Valley, it is comparable. There are plenty of cairns all the way down. It’s just a matter of getting to the bottom, being careful to not roll an ankle or step on a loose boulder.
Cool fact: The first ascent of Mount Elsay was made in 1909 by a party of climbers from the British Columbia Mountaineering Club led by Fred Mills. The mountain was approached by boat to the top of Indian Arm, opposite Crocker Island, where the group camped overnight. In the morning they broke into two groups, the others climbing Mount Bishop and headed up Bishop Creek. Upon reaching the summits of the two mountains at about 9.30am, the two parties of climbers called to each other. Fred Mills’ memoirs and photographs are to be found at the North Vancouver Museum and Archives.2
At the bottom of the boulder field is a creek where you can fill up on fresh water. Take the opportunity to do so if you need water as you won’t find any more until back at Mount Seymour resort. At the bottom, a short way beyond the creek, you will finally pop back into the forest. The trail continues downward until you reach a junction with a large orange marker. Go right here, back towards Mount Seymour. Going left would take you towards Elsay Lake.
The trail is ‘relatively’ flat for the next two kilometers or so and you will cross several talus slopes. Look carefully, and you may see a marmot or two during this part of the hike.
Once you cross the scree slopes, the trail starts switch-backing uphill. This part of the hike is again very steep, and by this point your legs will (if you’re human) be very tired. This 300 m ascent is known as Wes’s Ascent. Climb up, up, and up and at long last you will reach the junction with the Mount Seymour trail you passed much earlier in the day. Go left, and it’s only 3 km of retracing your steps back down to the parking lot!
Download the PDF version of this guide for offline use
Directions and Parking
Take the Mount Seymour exit off Highway #1 in North Vancouver. Take Mount Seymour Parkway until you come to sign for Mount Seymour Road. Take a left onto Mount Seymour Road and follow it up to the ski hill area. Park your car at the northern end of the top parking lot.
Google Map directions are here.
Other great hikes in this Area
- Mount Seymour (moderate)
- Mount Bishop (difficult)
- Dog Mountain (moderate)
- View all hiking guides here

Evan
Just attempted this hike solo(not including my husky) yesterday, everything was fantastic up until the second peak. There is still significant snow up there, and lots of boot sized holes showing where people have broken through into the runoff below. Yaktrax or crampons as well as extra caution(and extra socks) are a necessity for this trail right now. The trail you take down between 2nd and seymour peak was the factor that lead me to turn back; the marking was very difficult to make out at the beginning especially, and the trail nonexsistant. The steepness of the trail combined with the snow meant that the only way to get down was to slide. Im not confident that yaktrax or similar would’ve changed that, I grabbed a stick from one of the rocky ledges along the way to help slow myself down as i slid. For context even my husky was having difficulty getting down. About 20 minutes down the slope i came the the decision that I should turn back. My difficulty getting down made me think about the time I would have getting back up, and fact that there was no footprints to be seen since i left the Mt seymour trail did not add to my confidence. Getting back up was expectedly more difficult than going down, but not knowing what lay ahead and the conditions of snow and heavy fog made me uneasy. I’ll be attempting this again in a month or less, with more appropriate footwear, but for now I would use serious caution on this trail.
Jessie T
400m elevation gain is incorrect. Approx. 1200m elevation gain, round trip. This inaccuracy got me in trouble when I did the hike.
Karl W
Sorry that happened Jessie. We list the net elevation change, not the total cumulative elevation gain. This is explained on the main hiking guide page, and this guide mentions this in the introduction section since it makes a big difference on this hike in particular. That said, we’re making some changes to make it more clear what we mean by elevation gain. We’ve updated the title of the stat from “elevation gain’ to ‘net elevation change’ and we’ve also put the warning in the introduction section in red so people are more likely to read it.
Lori
Was there still snow at Elsay Lake itself? Would it be appropriate to camp there overnight at this point?
Michael
Anyone aware of the snow situation now? I’m thinking of doing this hike next week.
Karl W
I haven’t been up there but from what I’ve seen and heard there is a considerable amount of snow on Seymour still. I would hold off a bit longer yet. The snowpack was so high this year its taking longer than usual to melt away.
Stephanie
Hi there,
Did you manage to do the hike? We are planning on heading up Saturday, hoping snow is light at this point. Any updates?
Steph