Winter Hiking Safety
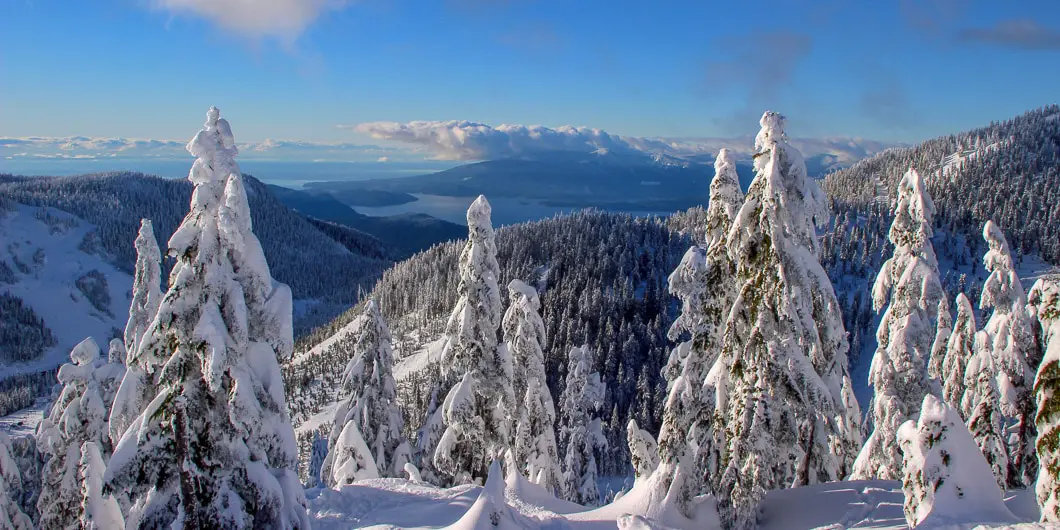
While most people see the winter as a time to huddle inside by a fireplace with a cup of tea and read a book… (or perhaps huddle in front of a Canuck’s game with a beer) there are those of us who can’t wait for mounds of snow to cover the local mountains. Skiing, snowboarding, snowshoeing, snowmobiling, & winter camping are a few of the fun things you can do during a B.C. winter. However, getting outdoors during this time of year increases the risk of things going wrong, and the stakes if they do.
Nightfall comes much sooner, the temperature is a lot colder in the mountains, avalanches can occur in the backcountry, tree wells are a hazard, weather conditions change more abruptly, and the list goes on. If something goes wrong, you have a much thinner margin of error for survival. For exploring in the snow, all the same general outdoor safety advice apply, including to always carrying The Essentials, but you also need to take a few extra precautionary steps and carry extra gear.
If you were to get lost or injured and had to spend a few hours or a night in the mountains, you must make sure you have all the necessary gear (they are called The Essentials for a reason, after all). It’s hard enough to survive a summer night in the mountains unless you are prepared with a source of warmth and extra layers. In the winter, for those unprepared, the odds are much lower.
Snowshoeing Tips and Safety

Snowshoeing is a great way to get out into the mountains during the winter. There are several great snowshoe trails that are free to use, but snowshoeing isn’t always as easy as it looks. There are many things that can go wrong, especially in icy conditions.
First and foremost, we recommend reading this excellent post by Coquitlam SAR Manager Michael Coyle: How to Kill Yourself Snowshoeing.
“The perception that winter travel is just as safe as summer travel is wrong. The perception that snowshoes are simple and easy to use is true, but the places you can go with them, although safe in the summer, can be extremely dangerous in the winter and spring. Snow on the ground makes for easy travel on flat terrain, but increasing hazard on steep terrain. Use of proper techniques for the season and the terrain can avoid accidents and deaths”.
After you’ve read that article, here are a few other helpful pointers:
- Always have The Essentials with you. Learn what these are, and how to use them.
- Stick to the trail, and follow trail markings.
- Be avalanche aware (see the Avalanche section below for more details).
- Avoid tree wells. They can have deep, loose snow which you may fully submerge into and suffocate.
- Avoid glissading (sliding on your butt) if possible, as you may slide further than intended and over embankments.
- Have enough extra clothing and an emergency blanket and bivy so that you can survive the night if you get lost or injured and are awaiting rescue.
- Be aware of the fact that cornices exist and they are deadly. Here is an unfortunate local news story of a group of snowshoers at Mount Harvey.
- Trekking poles with snow baskets will help you keep your balance.
- Batteries die faster in the cold. Keep your phone off, and bundled inside your pack to keep it warm. Carry an extra battery or portable charger.
- Be aware of the early sunset times. Have a headlamp or flashlight with you in case, but always leave a buffer in your trip plan to finish during daylight.
- Learn how to identify the symptoms of hypothermia, and how to treat it. North Shore Rescue has some great info here.
- Keep in mind that on extended, or especially overnight trips, your water can freeze. Hydration bladders are particularly prone to this. Carrying hot tea in a thermos is a good idea.
- Don’t forget about sun protection. On clear days, the sun reflecting off snow can be blinding. Bring sunglasses, sun screen, and lip balm.
Other snowshoeing resources and books
- Snowshoe Trails in Southwestern British Columbia (Book)
- 14 Best Snowshoe Trails around Vancouver (Outdoor Vancouver)
- Where to Go Snowshoeing in Vancouver (Happiest Outdoors)
Snowshoes vs. Trail Crampons (Microspikes)
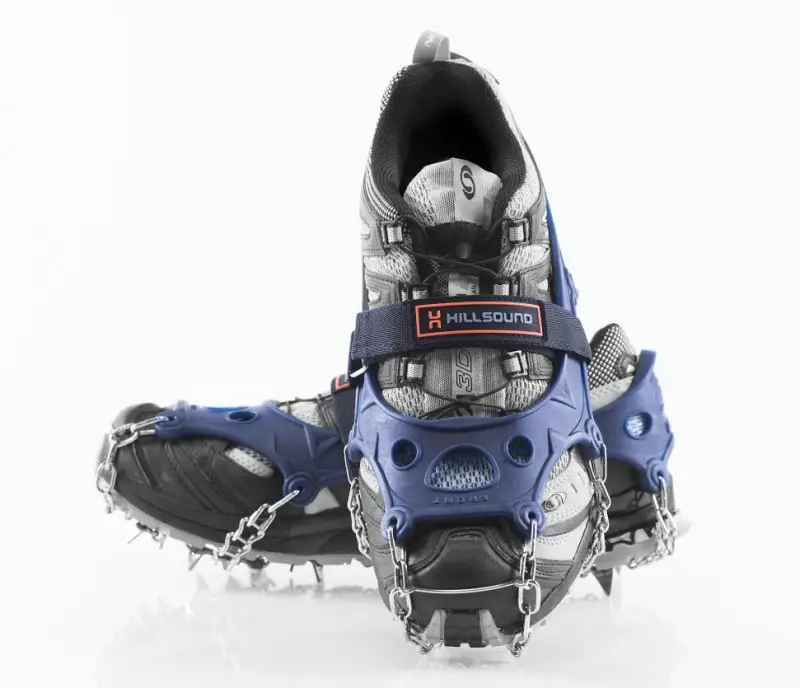
Depending on where you are going, you will need to determine whether you need snowshoes, trail crampons, or mountaineering gear (or a combination of them). We won’t cover winter mountaineering here. Mountaineering is for the more advanced adventurer, and the winter guides on our website are generally on well-marked, non-technical trails.
Snowshoes are great if there has been recent snow, as they help keep you ‘floating’ on the surface of the snow. If you’ve ever stepped in deep snow and fallen down to your thigh or waist (known as post-holing), it is obvious why snowshoes are so useful.
Popular snowshoes are the MSR Evo 22 and the Atlas Access.
However, many of the local winter hiking routes (like Dog Mountain, or Bowen Lookout) are popular and heavily used. If there hasn’t been a lot of recent snow, it is likely that many people have already walked on the trail ahead of you, packing the snow down into a hard, compact surface. In packed snow, trail crampons can be easier to use, as they are smaller, lightweight, and easier to descend in, but still provide great traction.
Our preferred brand of trail crampons is Hillsound as they are a Vancouver-based company and they make great products. Kahtoola make another popular trail crampon.
Clothing for Snowshoeing & Winter Activities
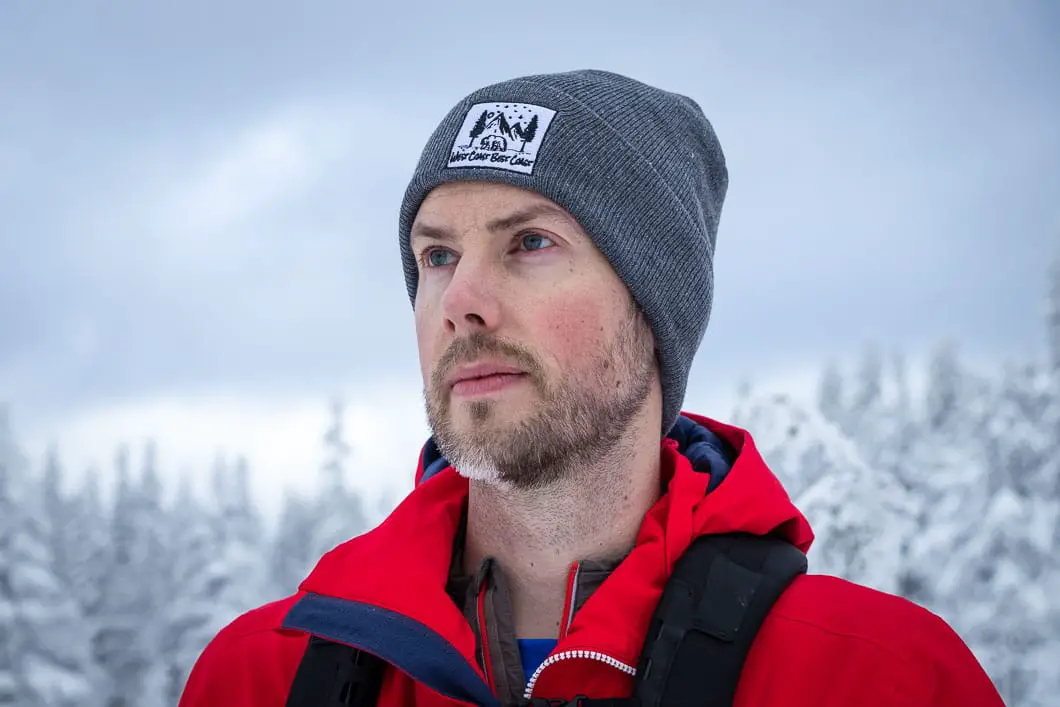
In addition to quality footwear footwear, your clothing is going to be an important factor in staying safe in the winter.
Fleece, synthetic down, and wool are great for providing warmth. Goose down is also great for warmth, but doesn’t perform well if it gets wet, so make sure you keep it dry. Avoid cotton clothing at all costs. Cotton takes forever to dry when it gets wet, and it will leave you feeling damp, cold, and miserable. Wearing cotton will greatly increase your chances of getting hypothermia, and is why the common phrase goes ‘cotton kills’.
We’ve listed some clothing suggestions below based on layering. You might not need all of these items depending on the temperatures, but they are good to pack with you, and at the very least it’s good to understand the purpose of each layer.
Base Layer
This is the layer that goes on your skin, underneath everything else. This layer is meant to regulate your body heat, and also wick sweat away from your skin. Moving sweat away from your body will help you stay dry and warm.
For this reason, the base layer should be Merino wool or synthetic materials.
- Socks – Thermal winter socks (and bring a backup pair – toes are especially prone to frostbite if your feet get wet).
- Underwear – Thermal underwear (we’re fans of Icebreaker Merino wool).
- Leggings – Again we like Merino wool here.
- Synthetic top – A synthetic or wool tee or longsleeve tee.
Middle Layer
This layer is meant to retain your body heat, keeping you warm. A good mid-layer will do this by trapping air close to your body. Again, synthetic fabrics and Merino wool make for a great middle layer. Fleece and synthetic down also work well here.
Outer Layer
This layer is meant to help protect you from the elements (wind, rain, snow, and sun), and to keep your mid and base layers dry.
- Warm, waterproof jacket.
- Waterproof pants.
- Warm, waterproof boots. Invest in good quality footwear, rated for negative temperatures.
- Toque. Bring a spare.
- Scarf or neck gaiter. These help keep your neck warm and are easy to add or remove as needed during the hike.
- Gloves. Make sure they are rated for the temperature you will be in. Bring an extra pair in case they get wet or you drop one, fingers are prone to frostbite.
- Sunglasses and sunscreen.
- Gaiters (optional). Gaiters will keep the snow out of your boots, where it would melt and wet your socks.
Avalanche Safety
Avalanche Canada is a great source for information on avalanche safety:
- Avalanche Canada provides avalanche bulletins, webinars, and info for public avalanche safety. They also have a great online Introduction to Avalanche Safety course.
- Avalanche First Response Training is an online course that is very useful tool to help learn the basic skills for avalanche rescue.
If you are going to be heading out into any areas that have even a remote chance of avalanche, you should prepare yourself by taking the Avalanche Skills Training (AST-1) course. For $200 – $300 and 2 days of your time, it is a worthwhile investment, and is actually quite fun. You can take the course locally with the following places:
Vancouver and Whistler
Powder Guides (www.powderguides.com)
Canada West Mountain School (www.themountainschool.com)
Coast Mountain Guides (www.coastmountainguides.com)
Grouse Mountain (www.grousemountain.com)
B.C. Ski Guides (www.bcskiguides.com)
Mountain Skills Academy & Adventures (www.mountainskillsacademy.com/)
Altus Mountain Guides (www.altusmountainguides.com/)
Vancouver Island
Island Alpine Guides (www.islandalpineguides.com)
Mount Washington Alpine Resort (www.mountwashington.ca)
An Avalanche Safety Training Course will educate you on how to read avalanche forecasts, confirm forecasts match the conditions you’re seeing, what gear to carry and how to use it, and how to know when you should turn around.
Avalanche Gear
If you will be heading into any possible avalanche terrian, you must carry the essential avalanche gear:
- Avalanche Transceiver – These are small electronic devices that put out a radio signal. If you become buried in an avalanche, those who are nearby and not buried, switch their transceivers to search mode. In this way, they can find where you are buried.
- Probe – Probes are long collapsable poles that are used to poke deep into the snow, and help find the exact location of a buried avalanche victem.
- Shovel – Used for digging out the victem. Avalanche shovels are specially designed to be lightweight and easy to carry in a backpack.
Other recommended avalanche gear is:
- Emergency communication device – A SPOT or InReach Device can help you reach emergency support even when you are out of cell-service range.
- Avalanche airbag pack – These can automatically deploy in an avalanche, helping keep the wearer atop of the snow in an avalanche.
Books and Other Avalanche Resources
- We recommend watching the documentary A Dozen More Turns.
- The Varsity Outdoor Club (UBC), has a ‘Avalanche Terrain Exposure Scale‘ list for many of the local snowshoe routes.
- Mountaineering: The Freedom of the Hills: Freedom of the Hills – A classic book on mountaineering, which covers avalanche safety in good detail.
- Staying Alive in Avalanche Terrain – This best-selling avalanche safety book teaches recreationists how to enjoy the winter backcountry with confidence.
- Allen & Mike’s Avalanche Book: A Guide To Staying Safe In Avalanche Terrain – distills the sometimes overly technical information of snow science into a user-friendly format with helpful illustrations and easy-to-understand text.
- North Shore Rescue’s page on avalanche safety – includes forecast for the North Shore mountains.
A Starter’s Guide to Hiking in Vancouver.
- Guides for 10 amazing hikes near Vancouver
- Hiking safety and trail etiquette
- Resources, hiking gear overview, and more!

